Refinishing a Newspaper Box
I have been pausing and starting this project for a few months now—but I can finally say that I’ve finished my Creative Loafing box!
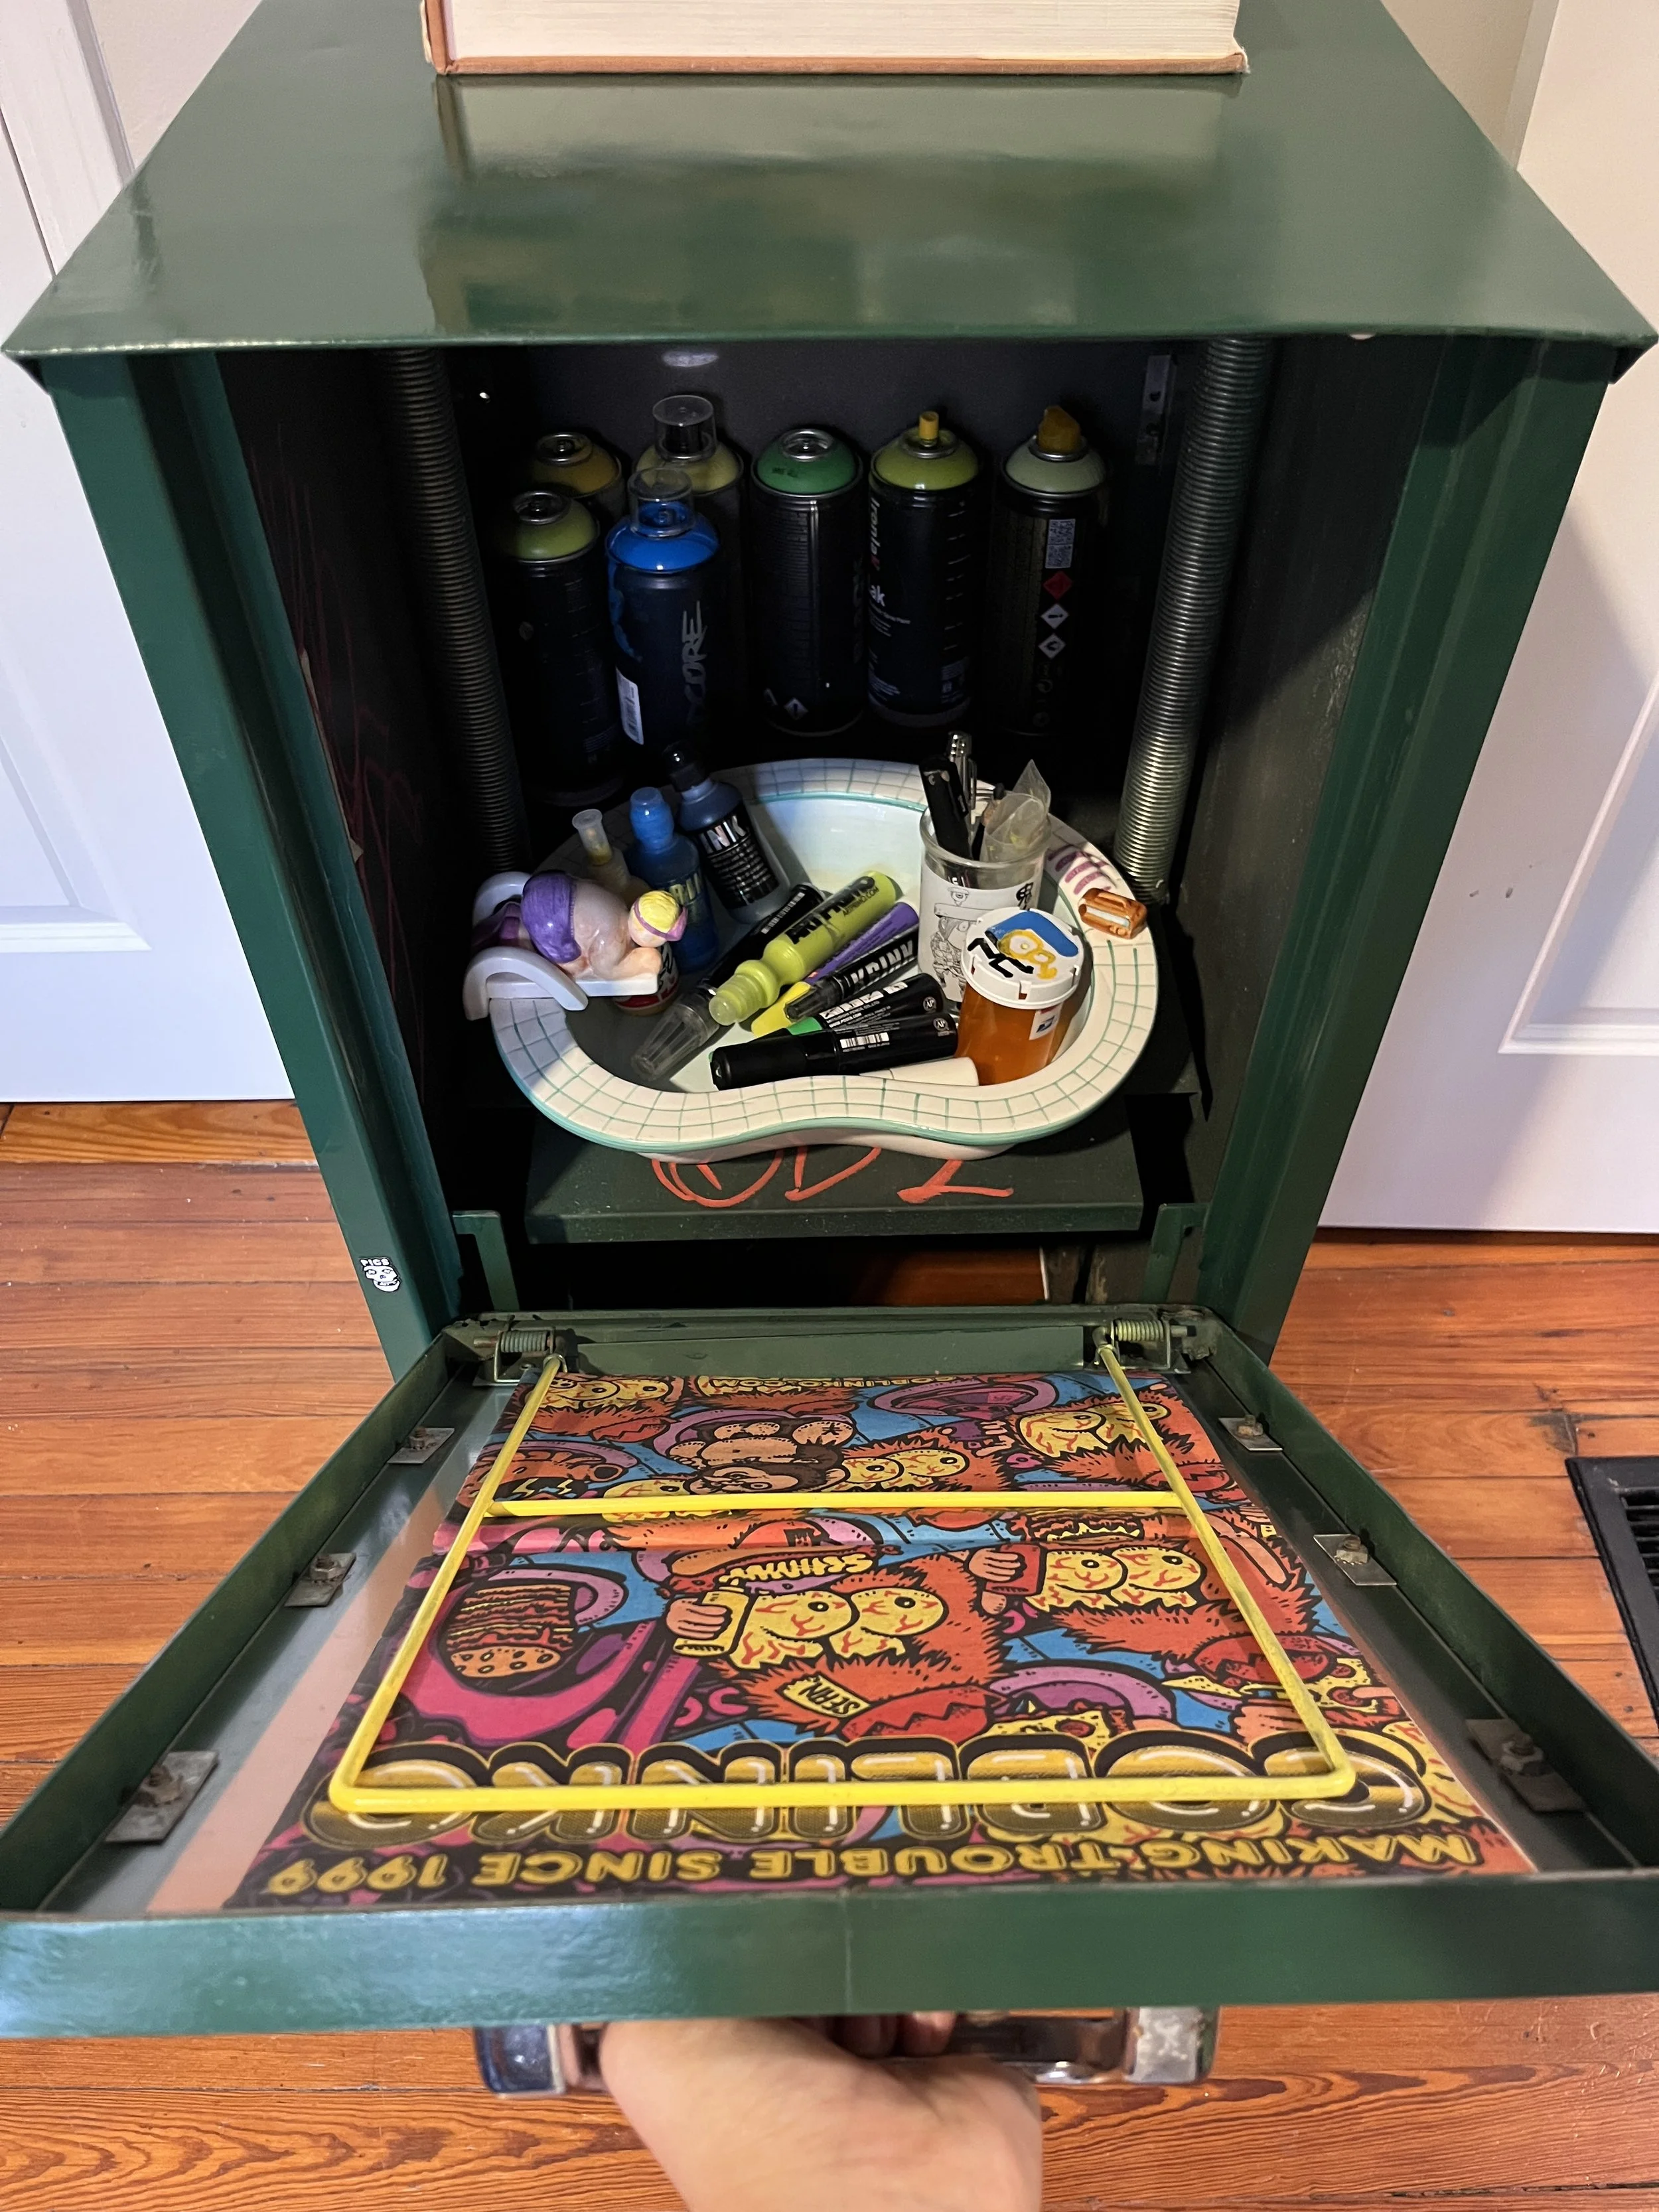
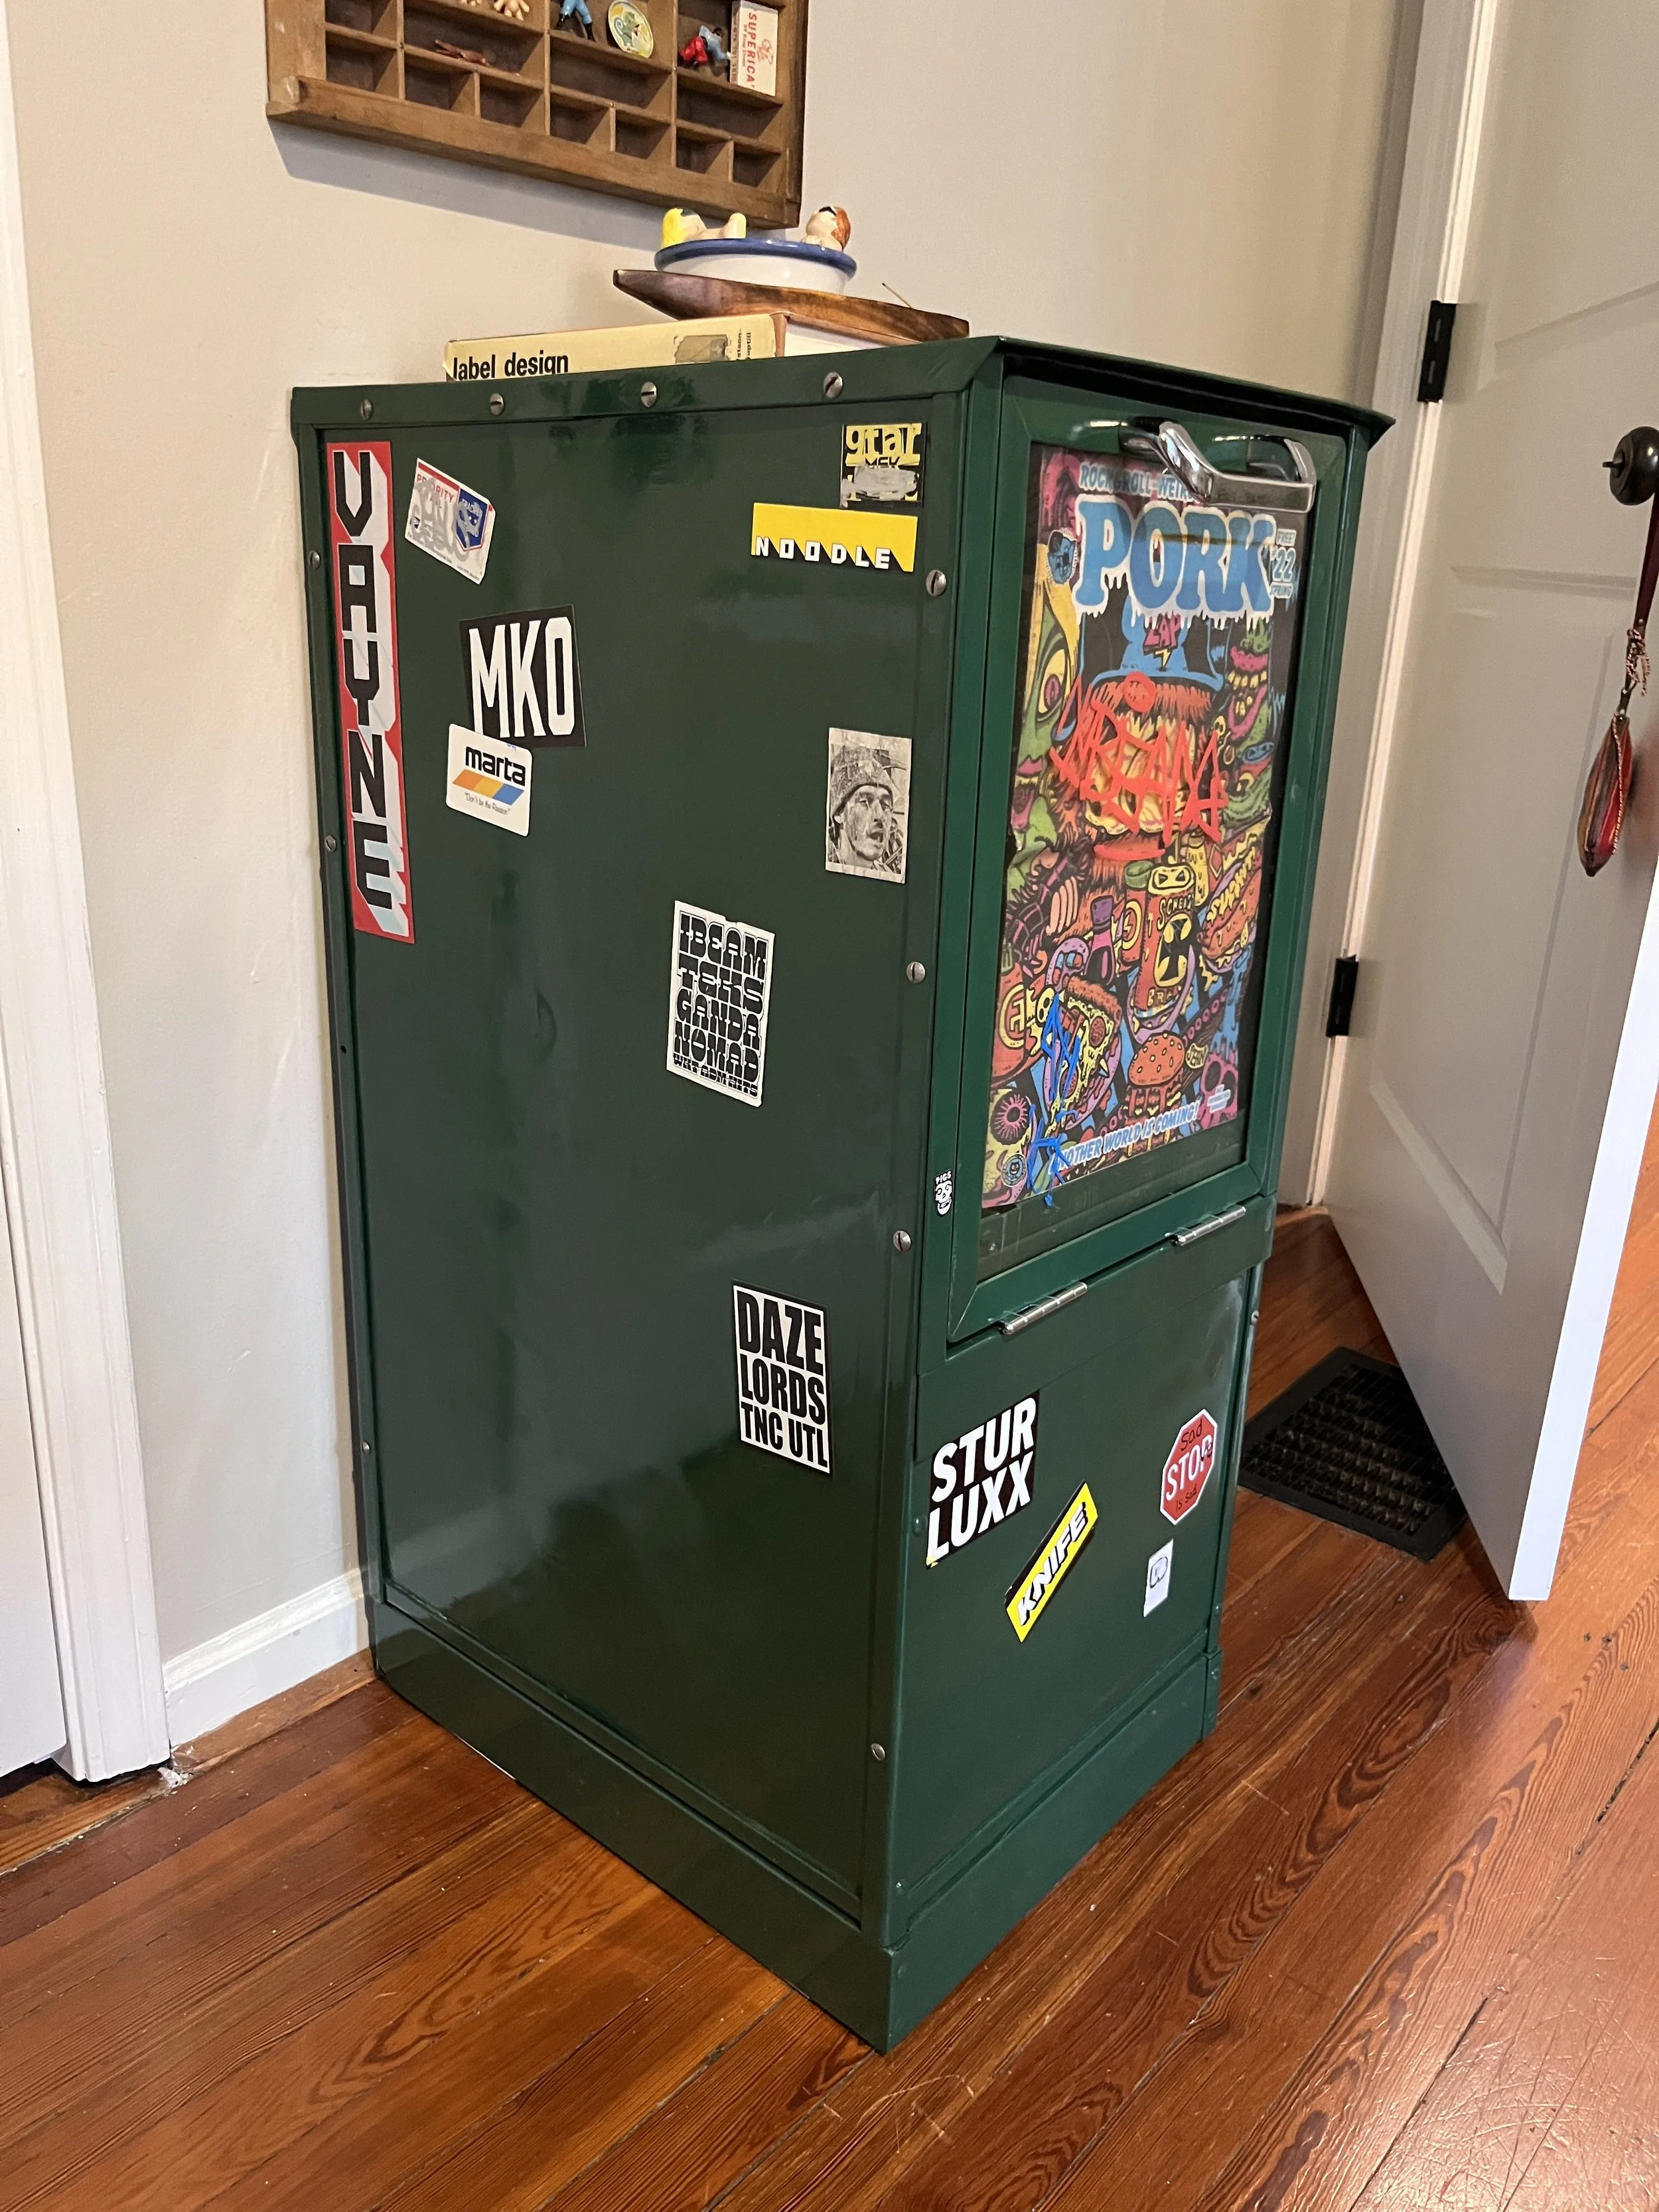
This has been a dream project of mine since I picked up the hobby of carefully collecting some of my favorite graffiti stickers from the street and turning them into magnets. I wanted to have a cool, organic (in context) place to display them and rearrange them as I please. I turned to the metal newspaper box when my original idea for this (street signs) fell through (it turned out they are not magnetic), and what a happy accident it was! Now I get to use this box not only to display my collection, but to house my paint cans, caps, mops, and markers!
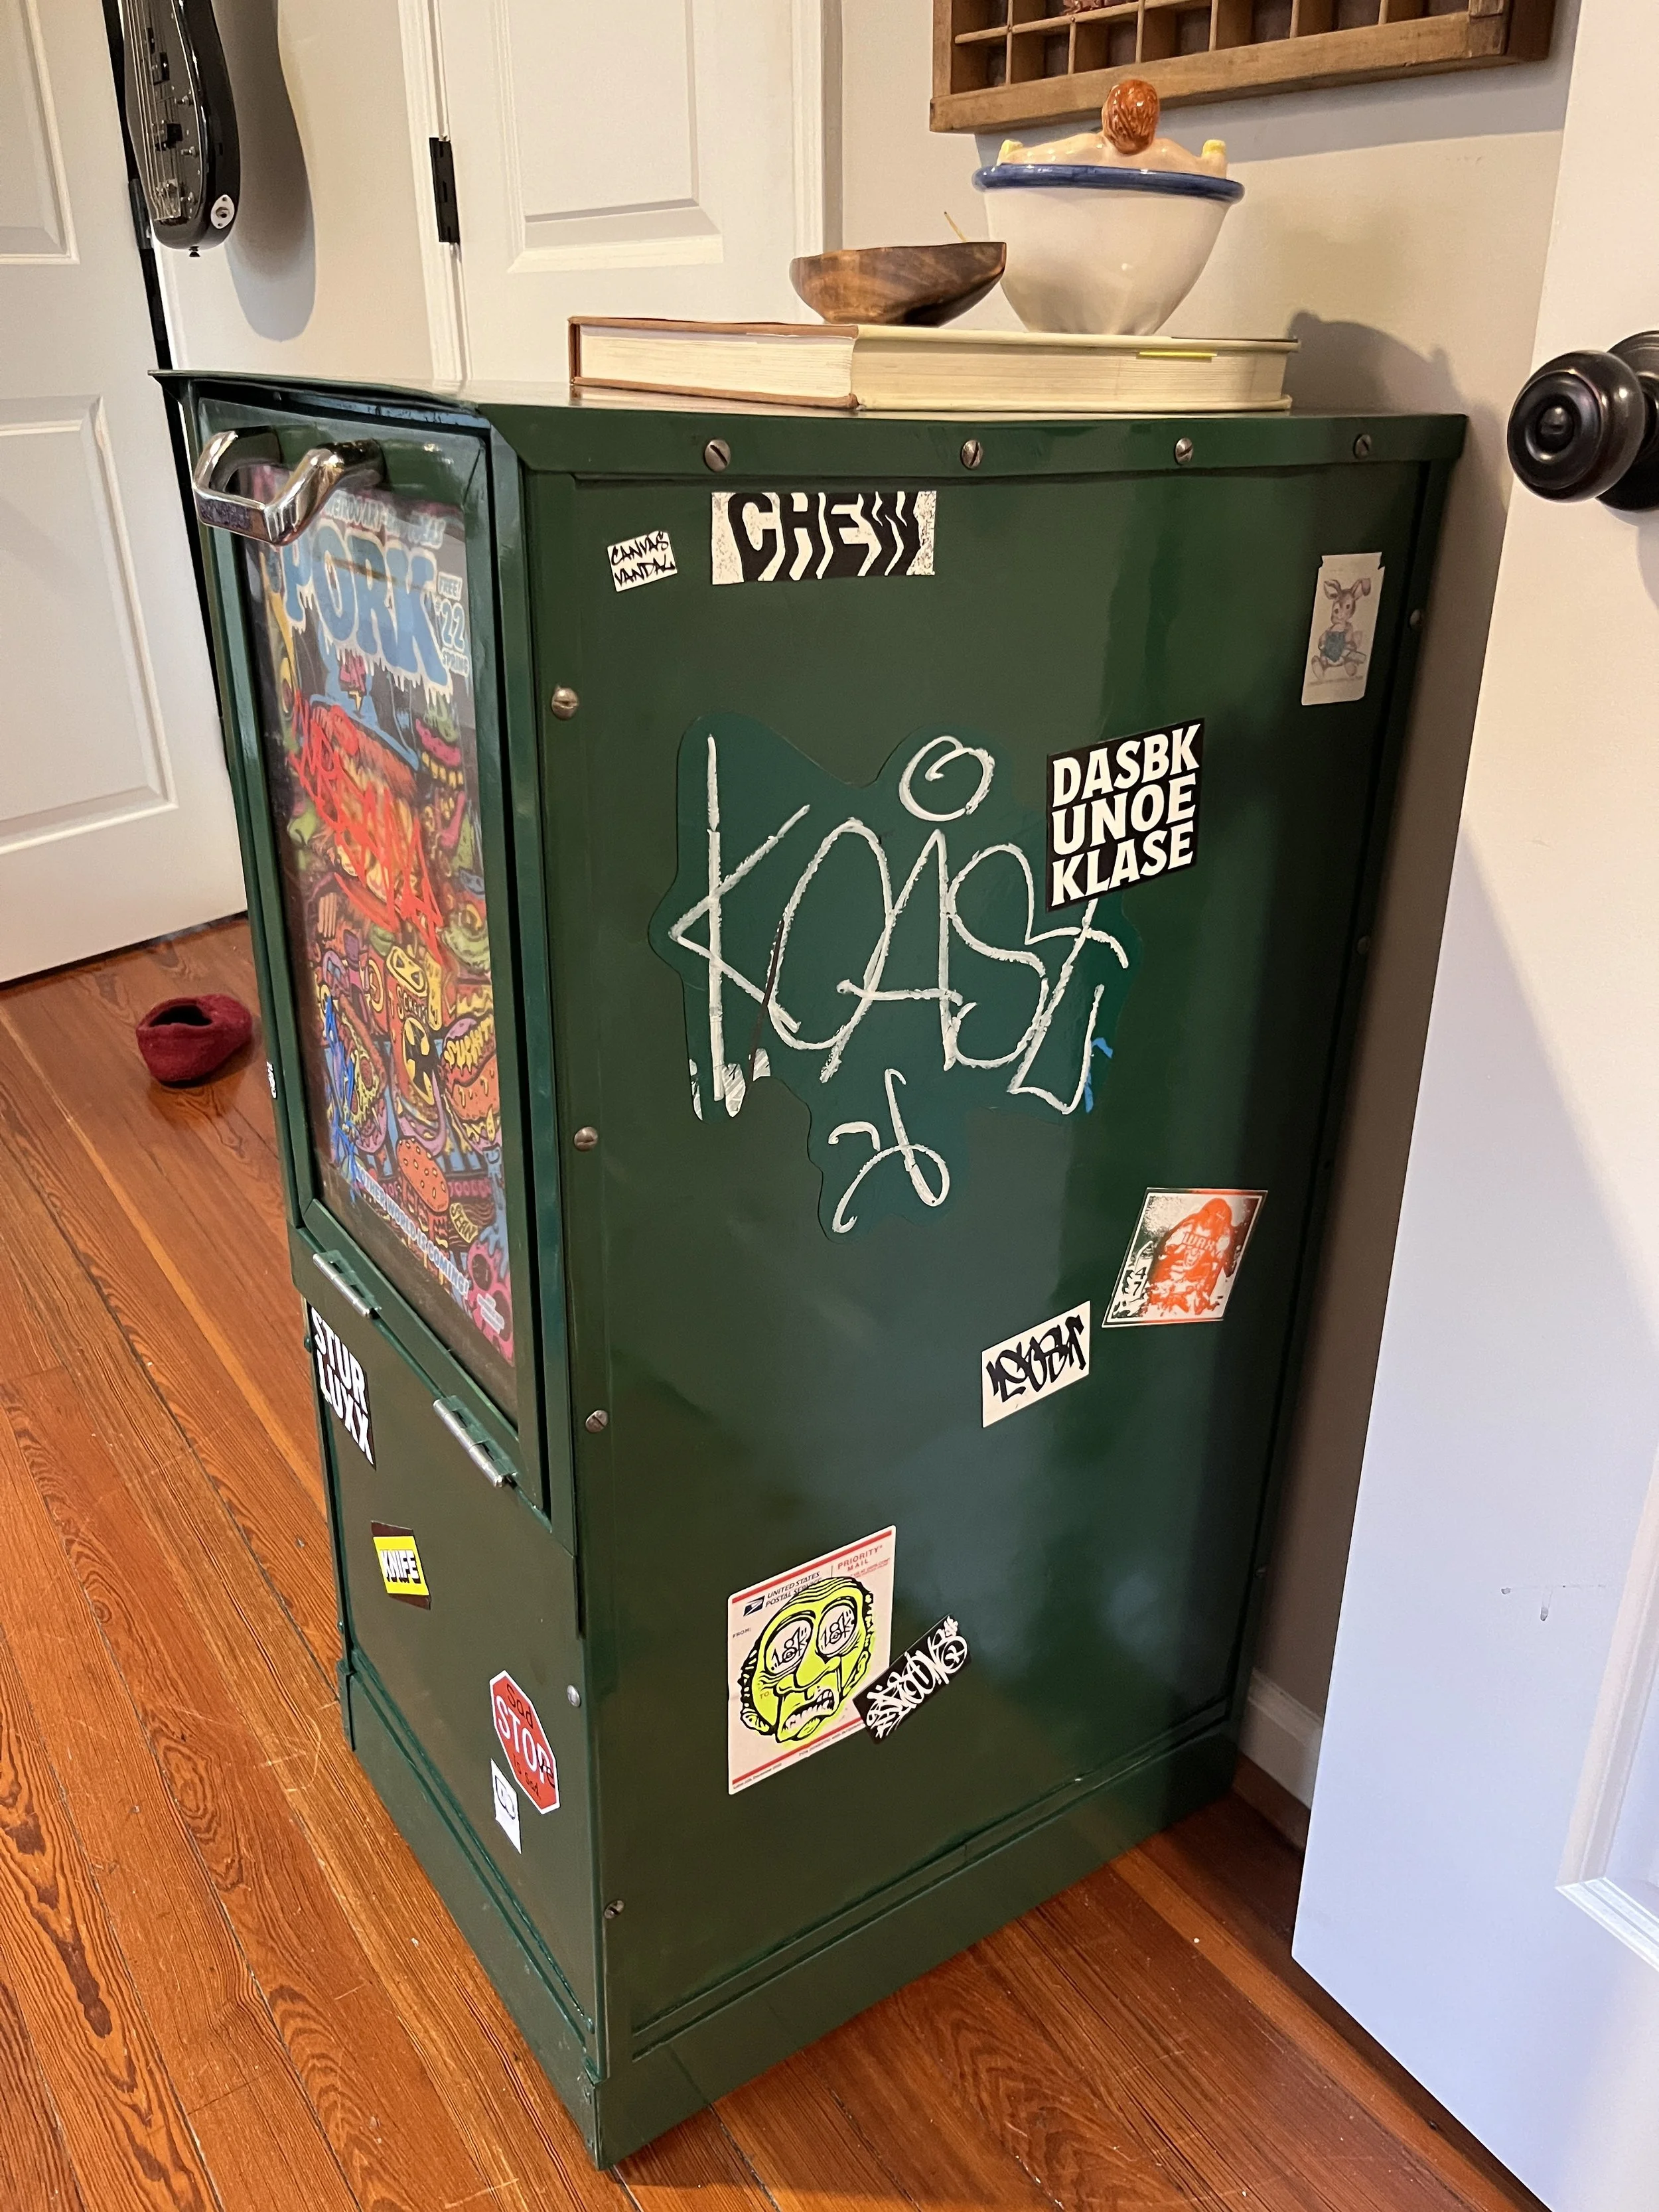
The box was generously given to me by a friend, and when it came into my possession it had a broken hatch (wouldn’t close all the way), as well as a green vinyl wrap around the entirety of the body, hiding years of rust and damage. It also had some awesome tags from some ATL celebrity writers such as VAYNE, IBEAM, and KOAST.
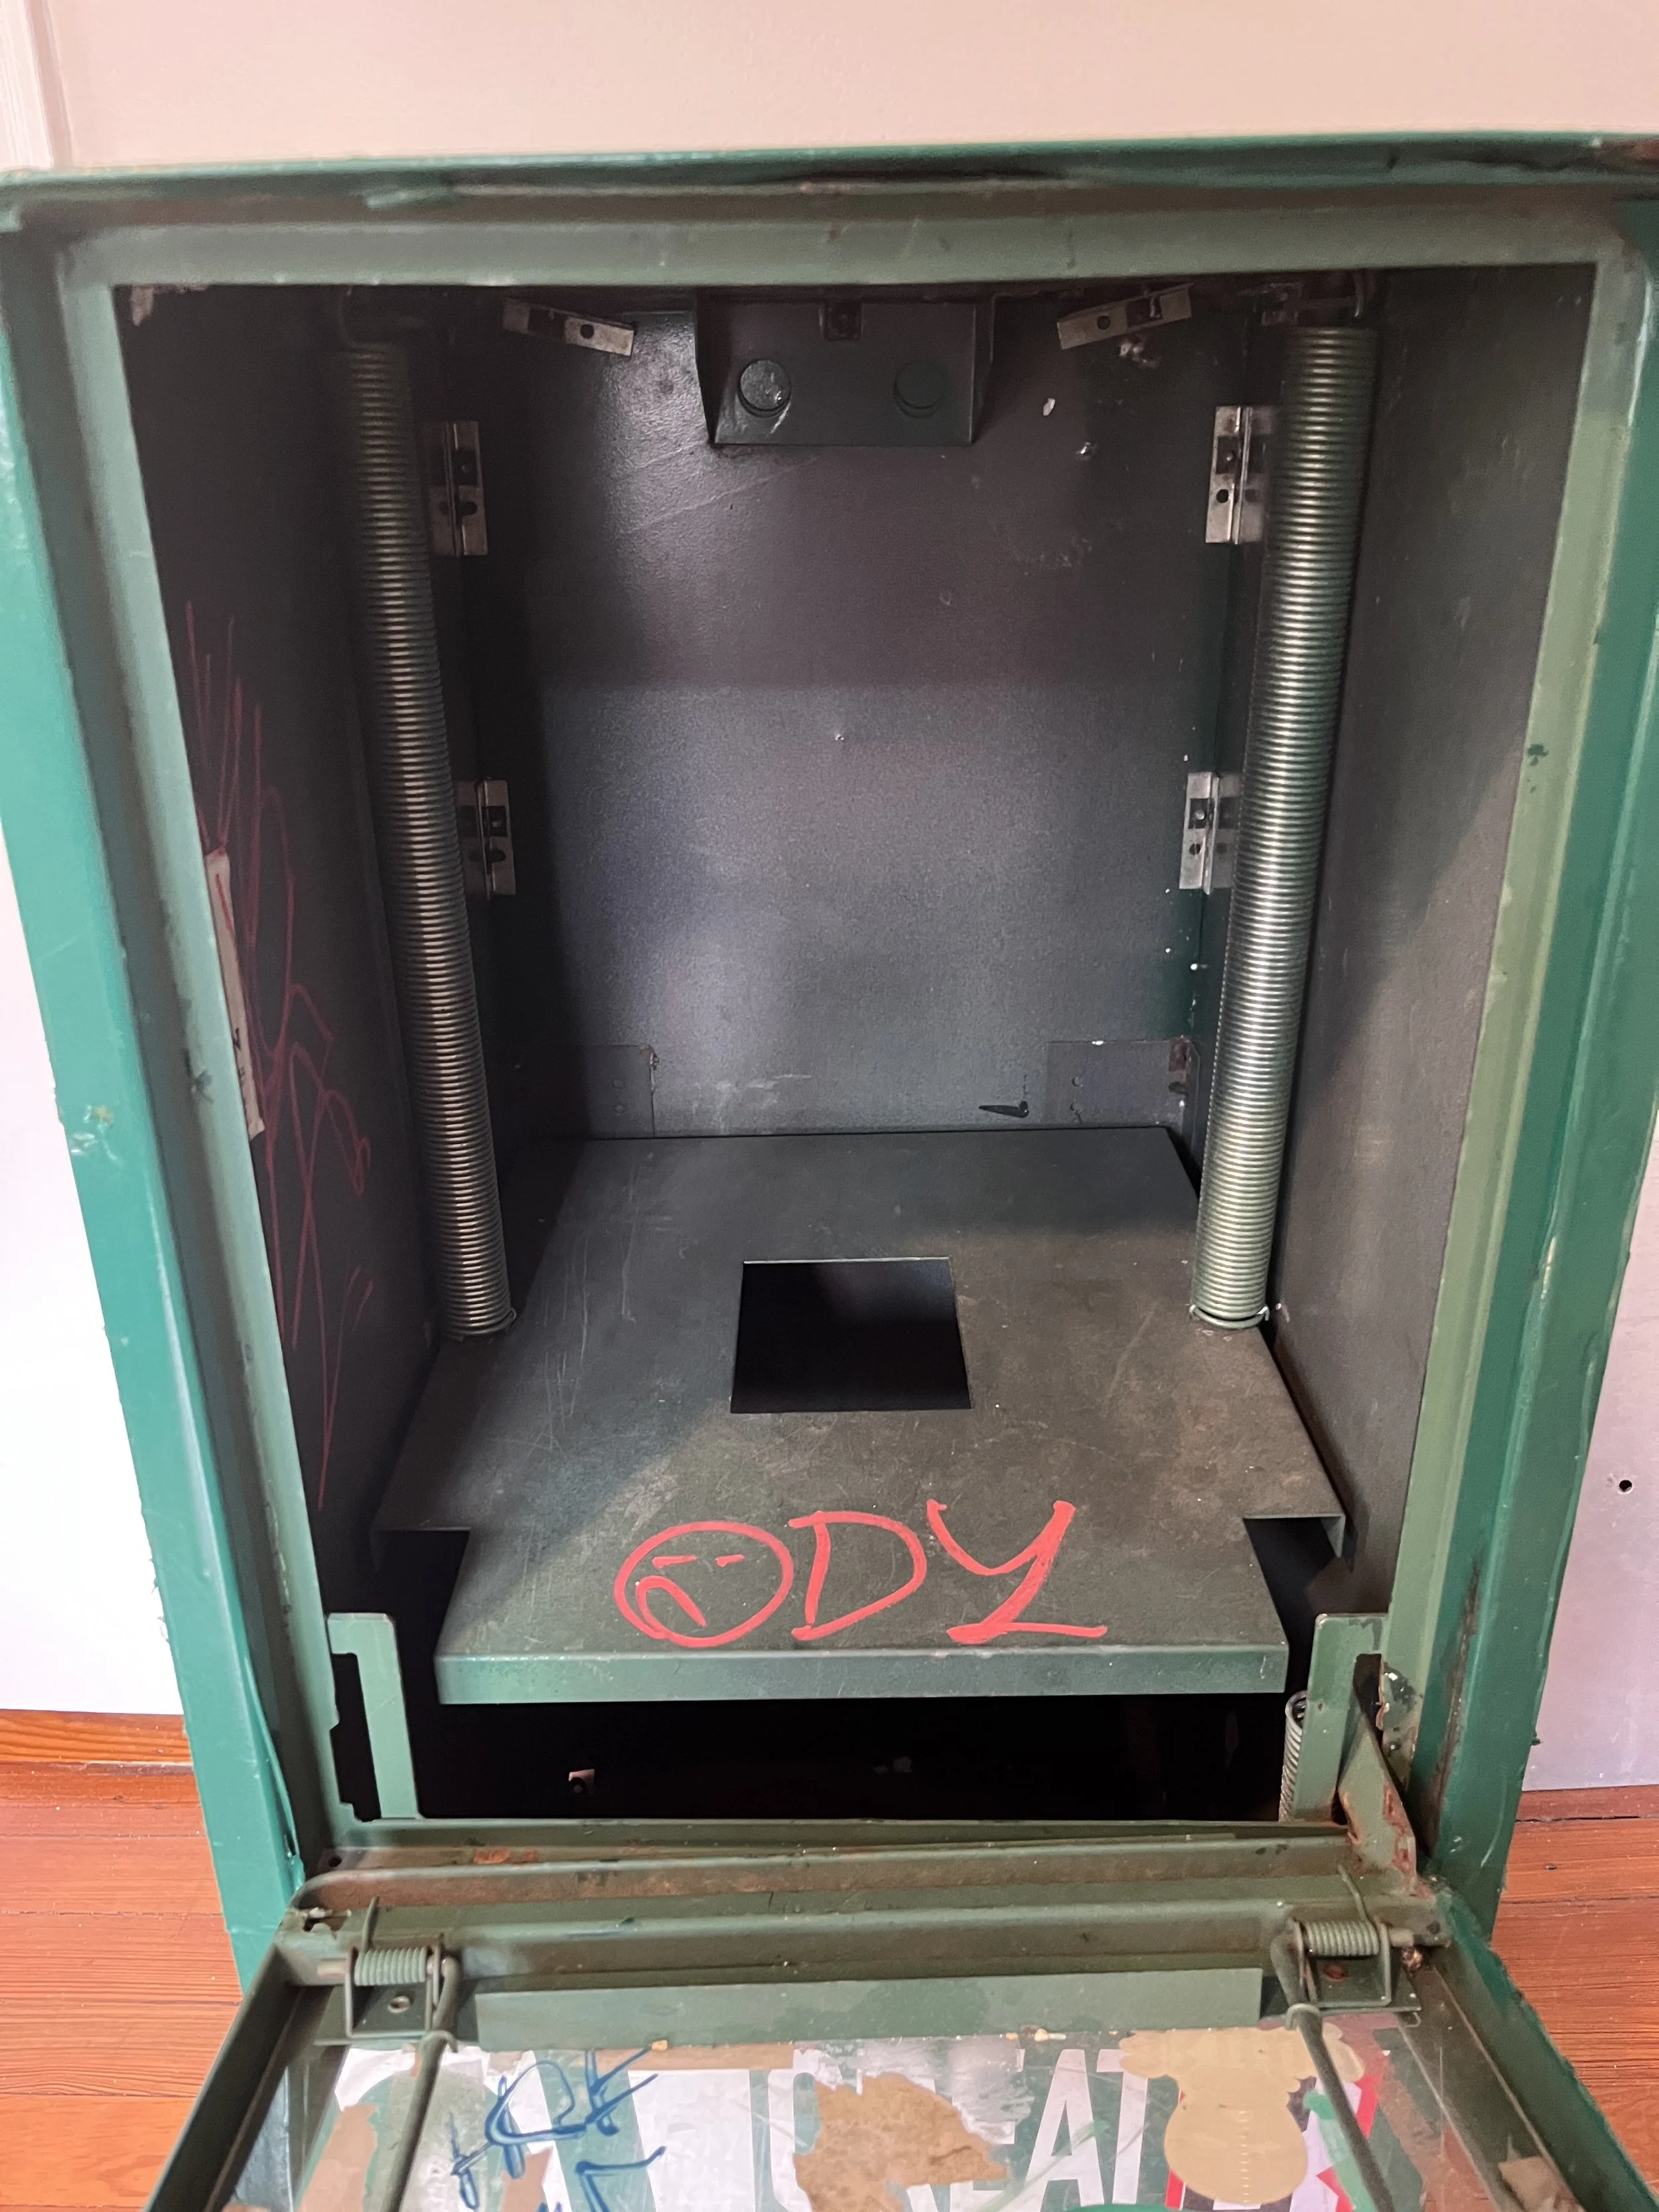
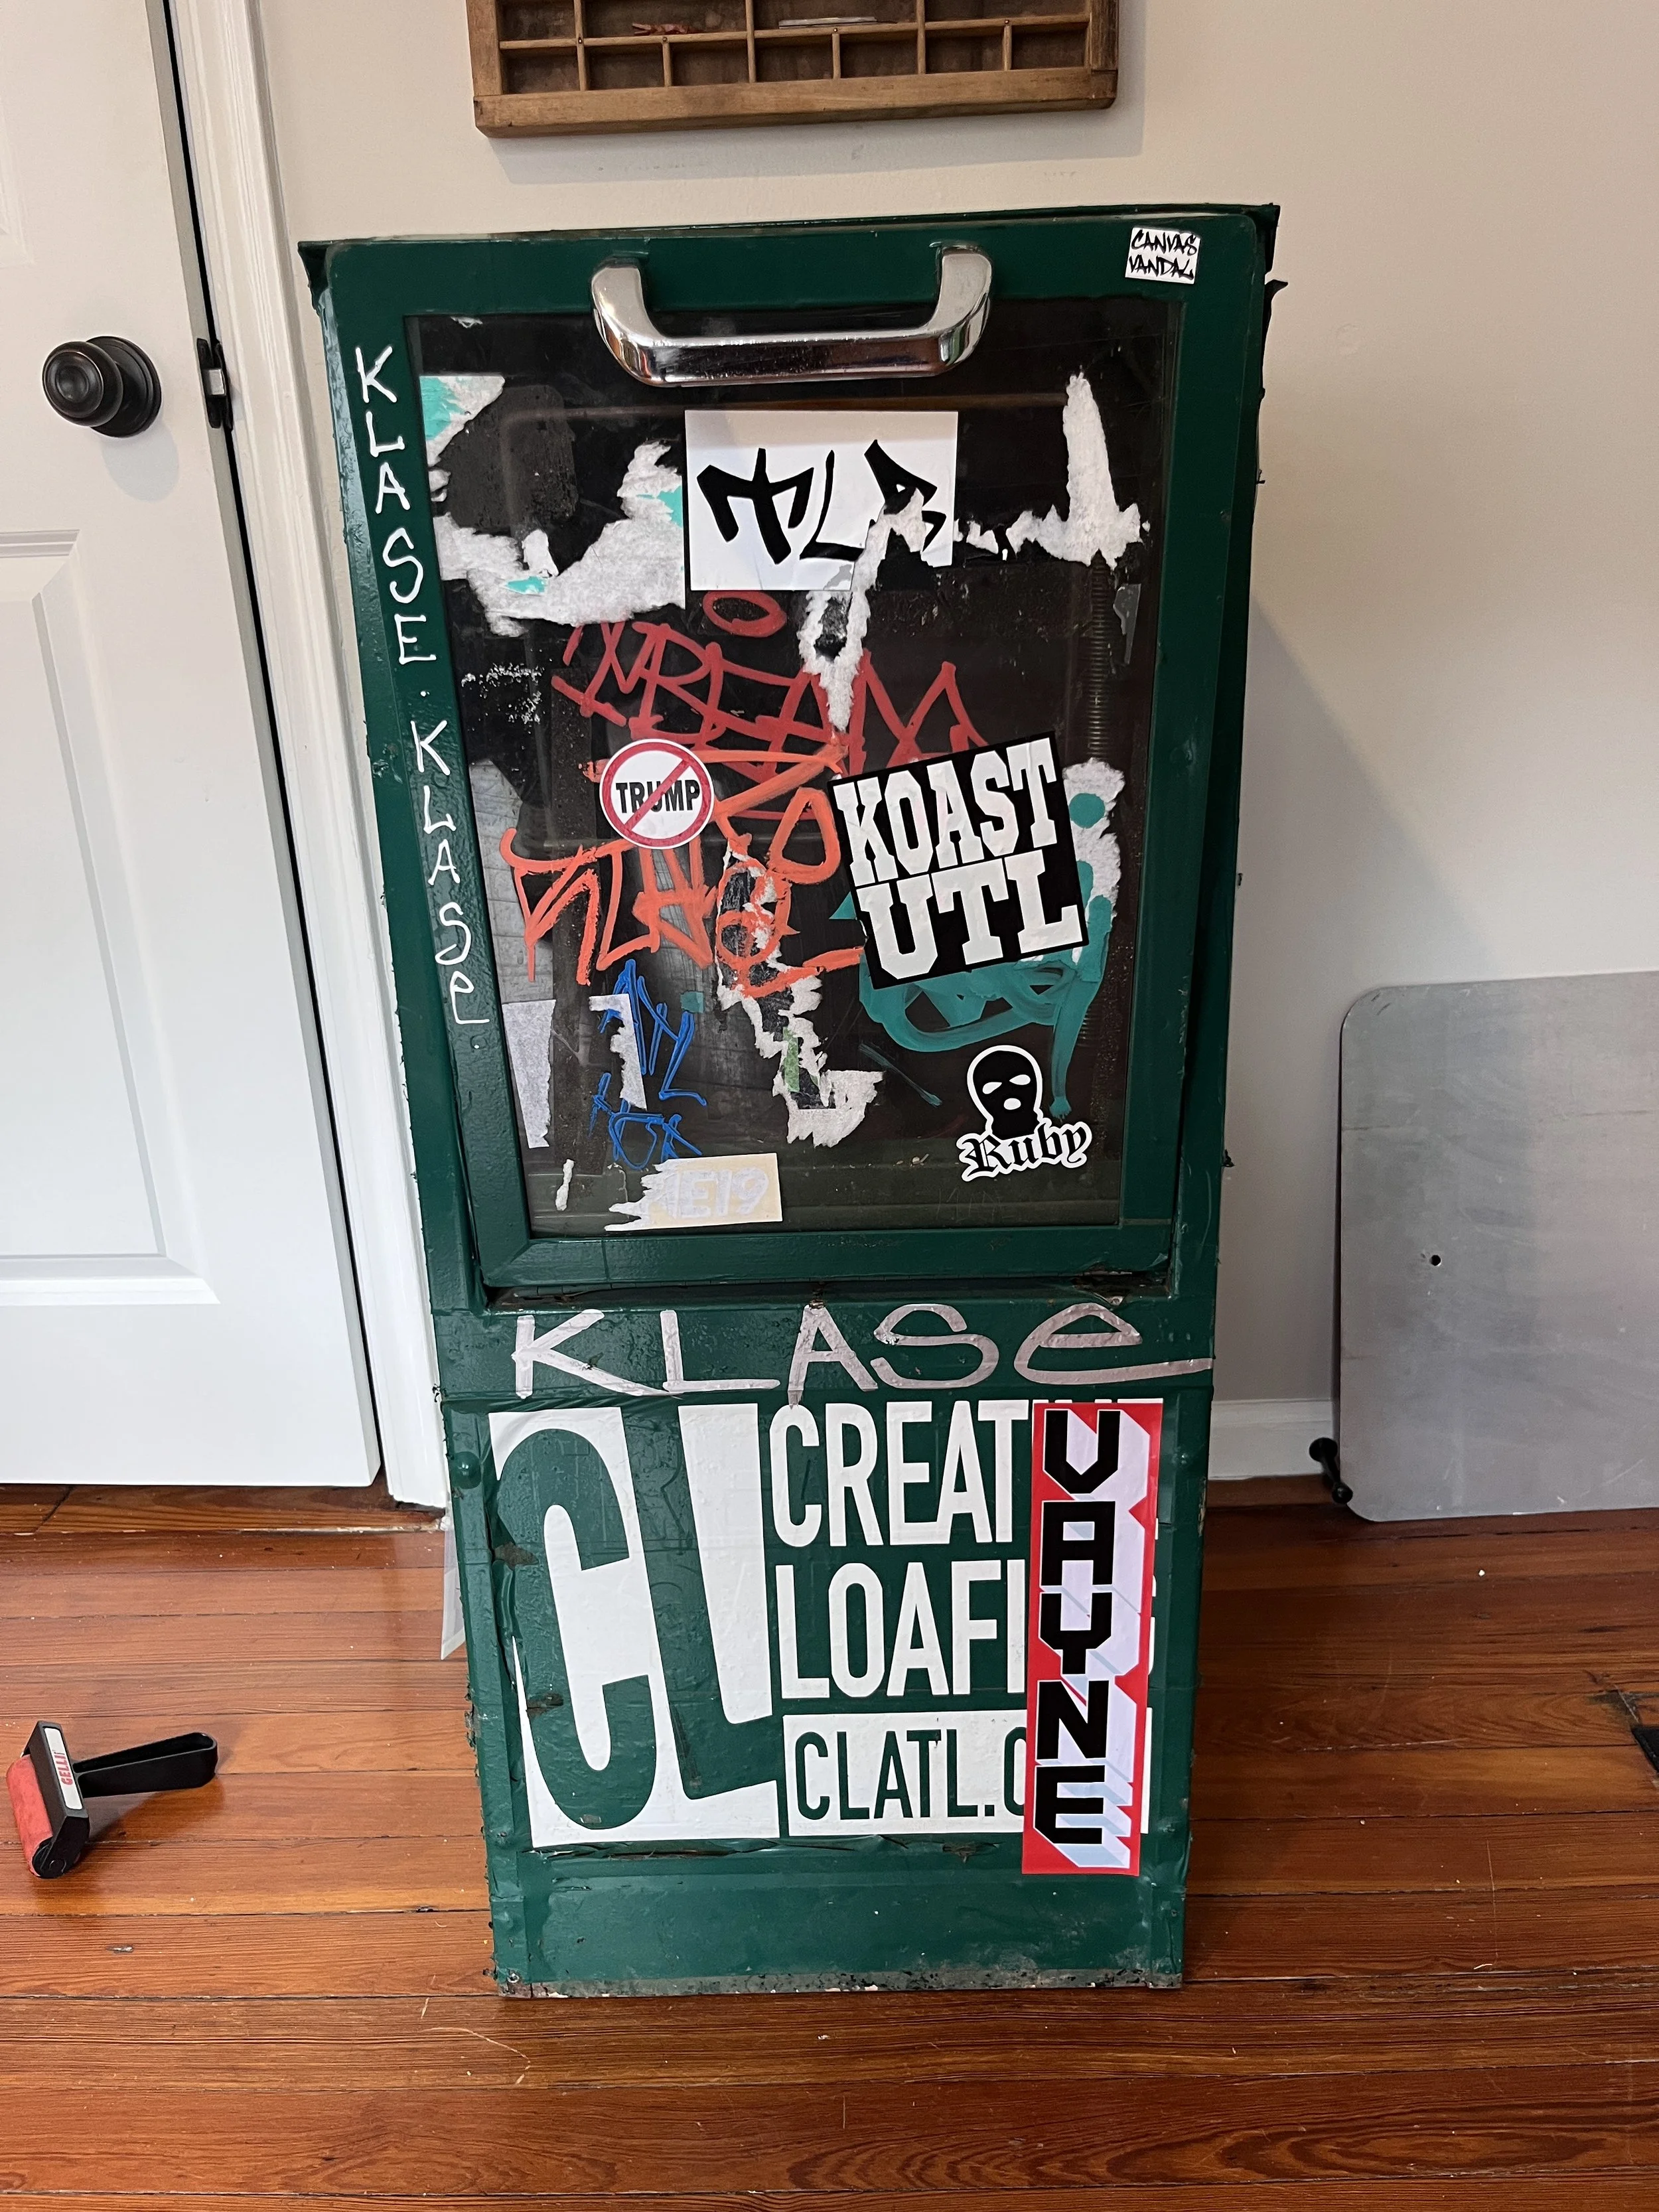
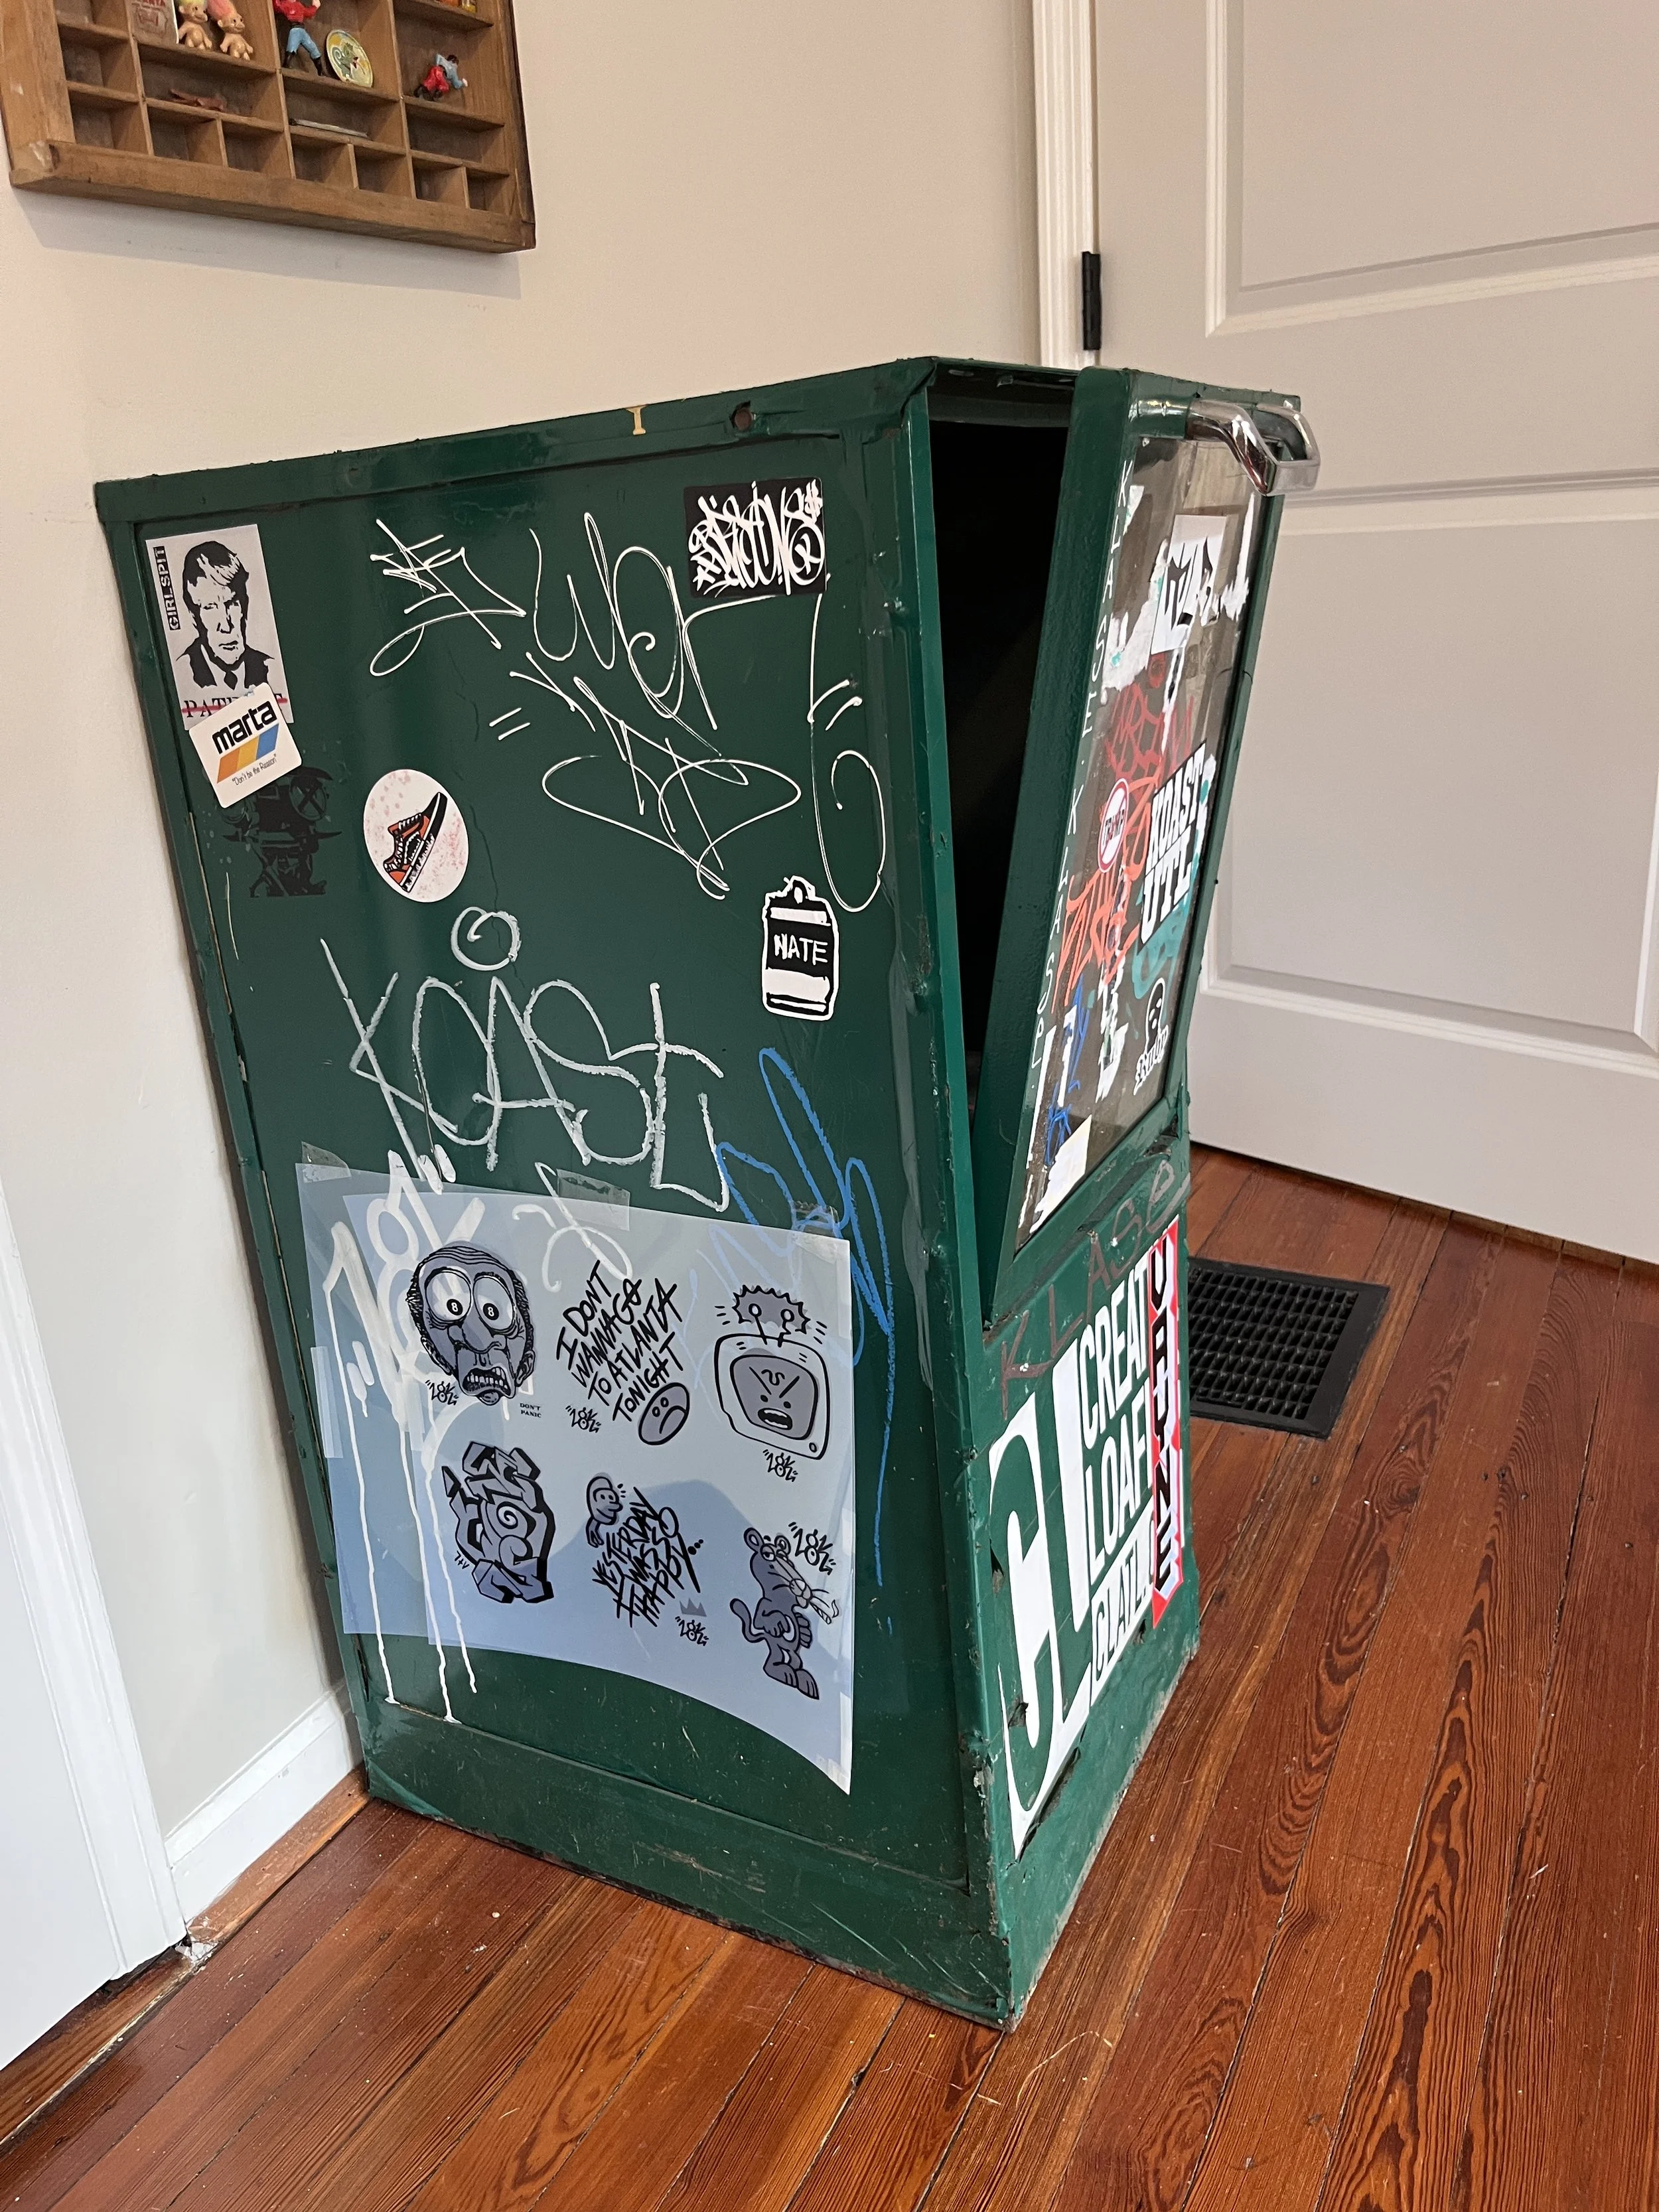
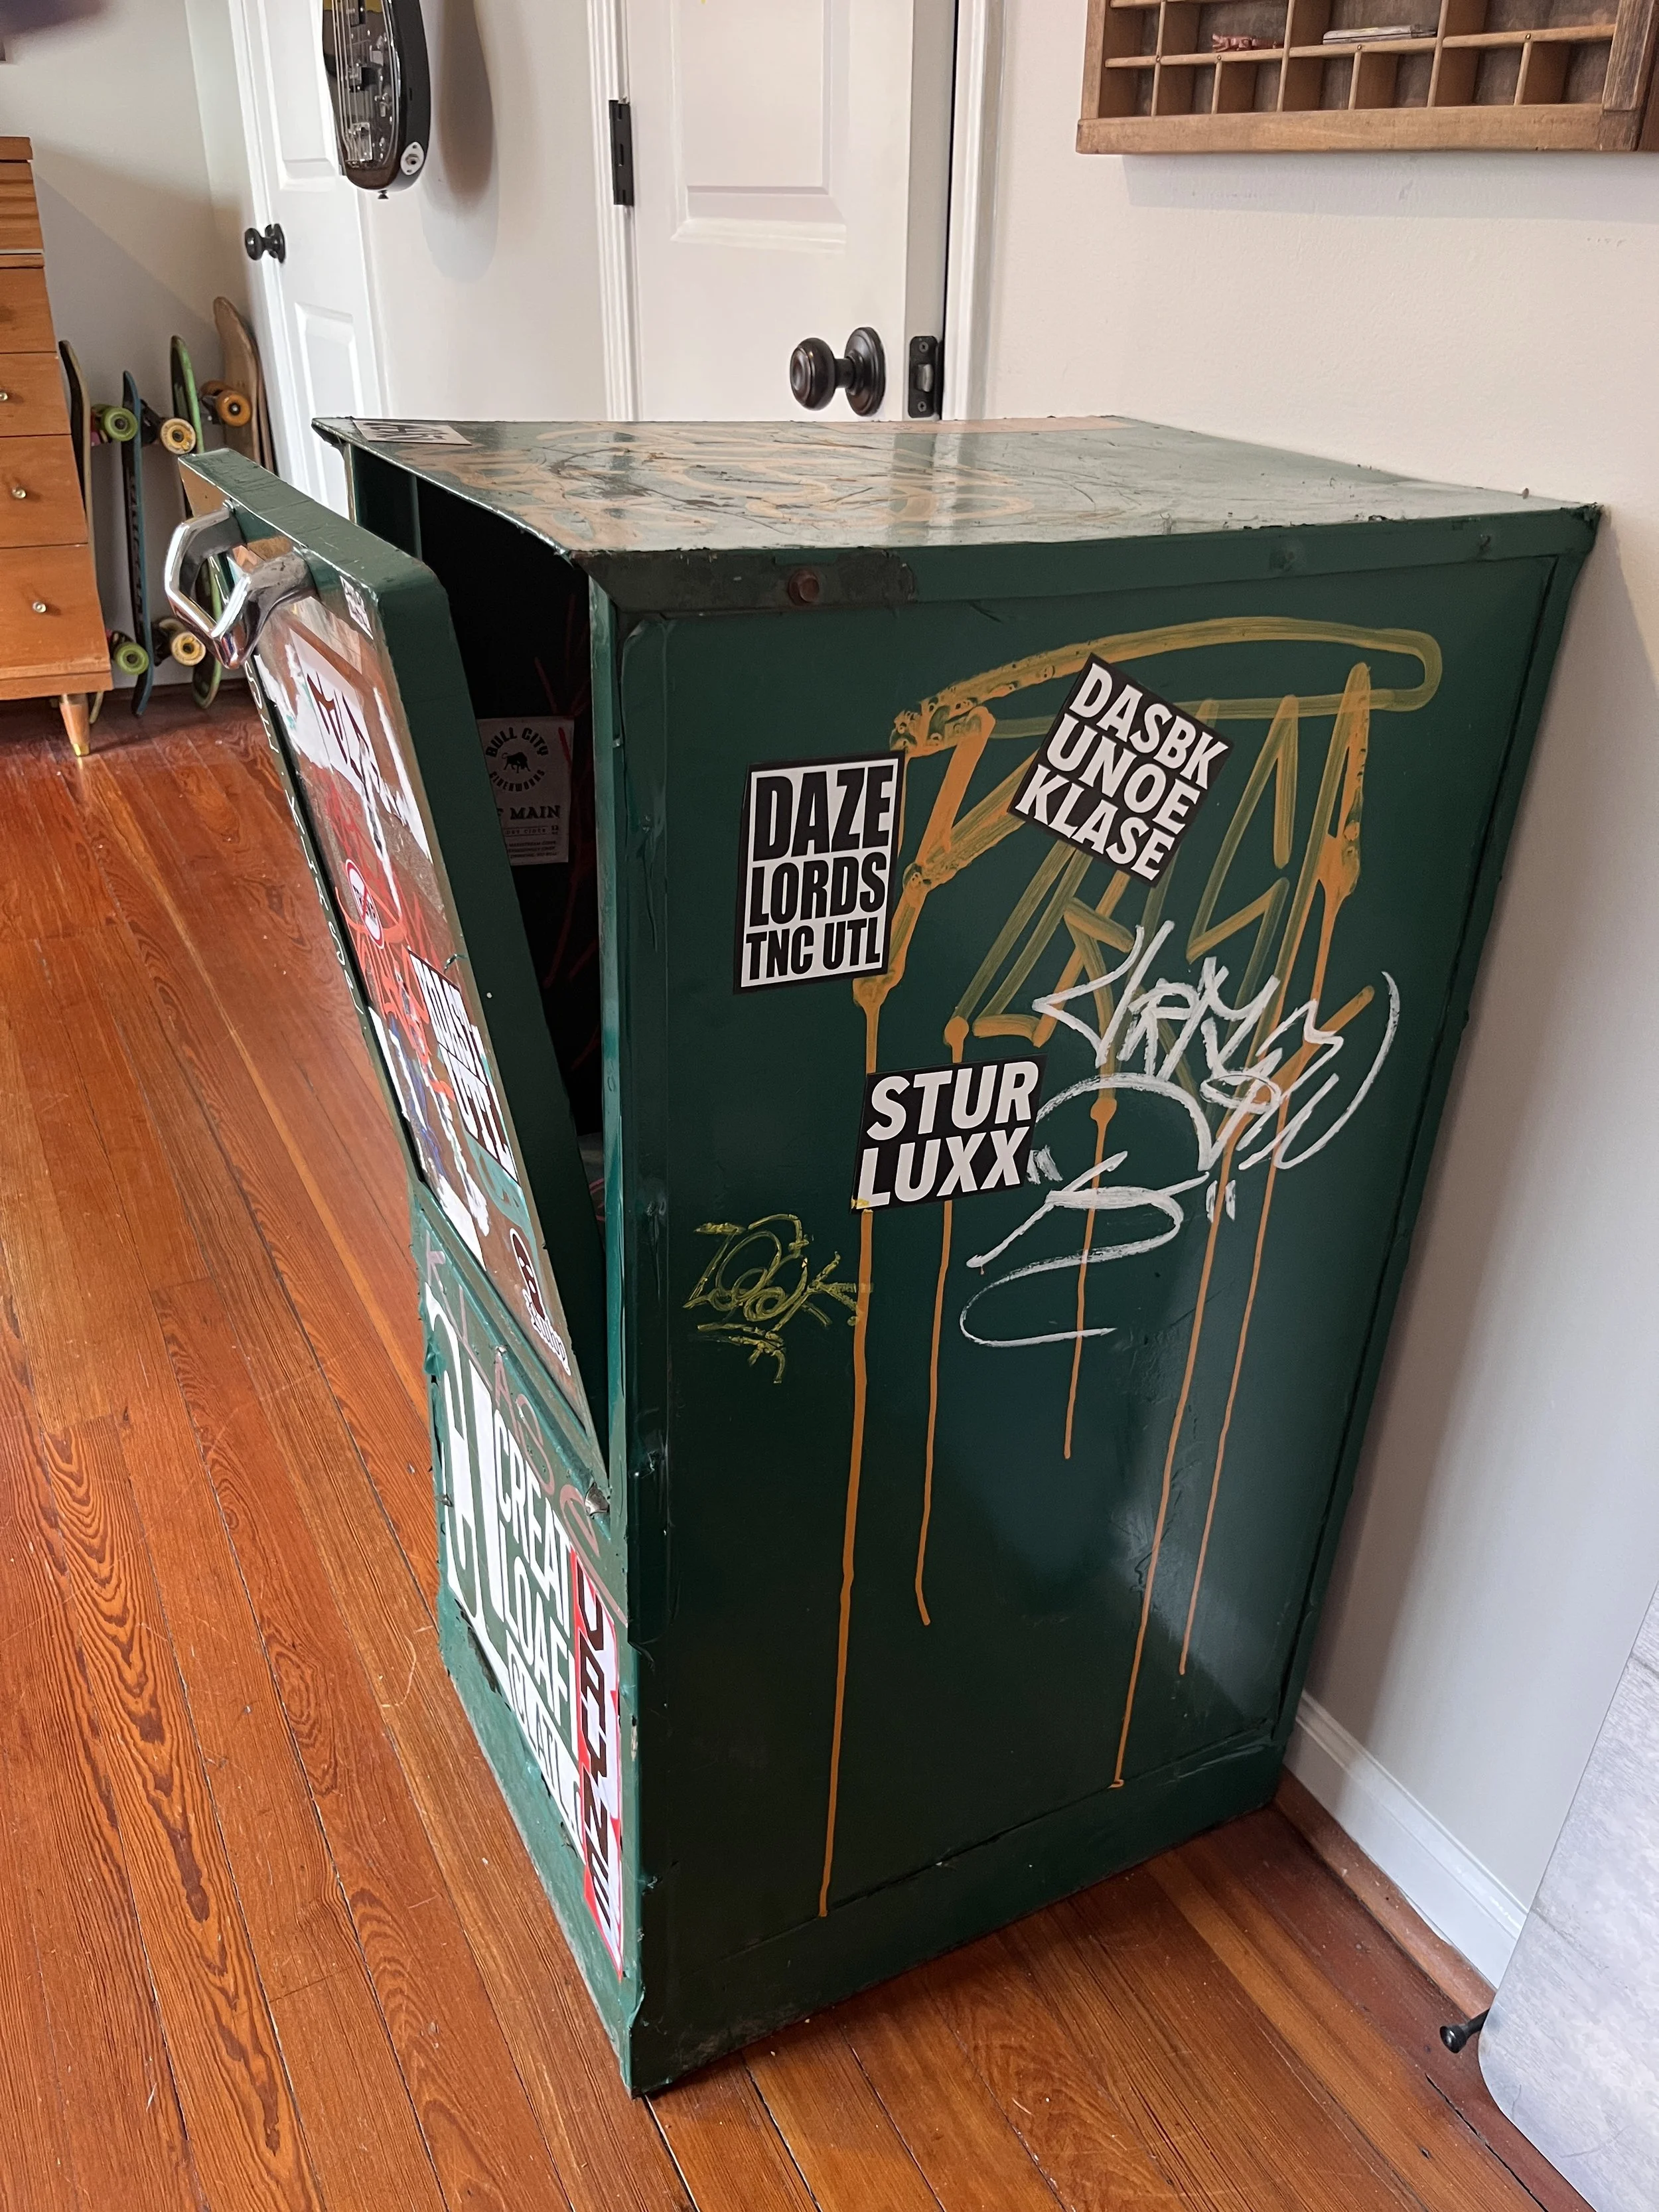
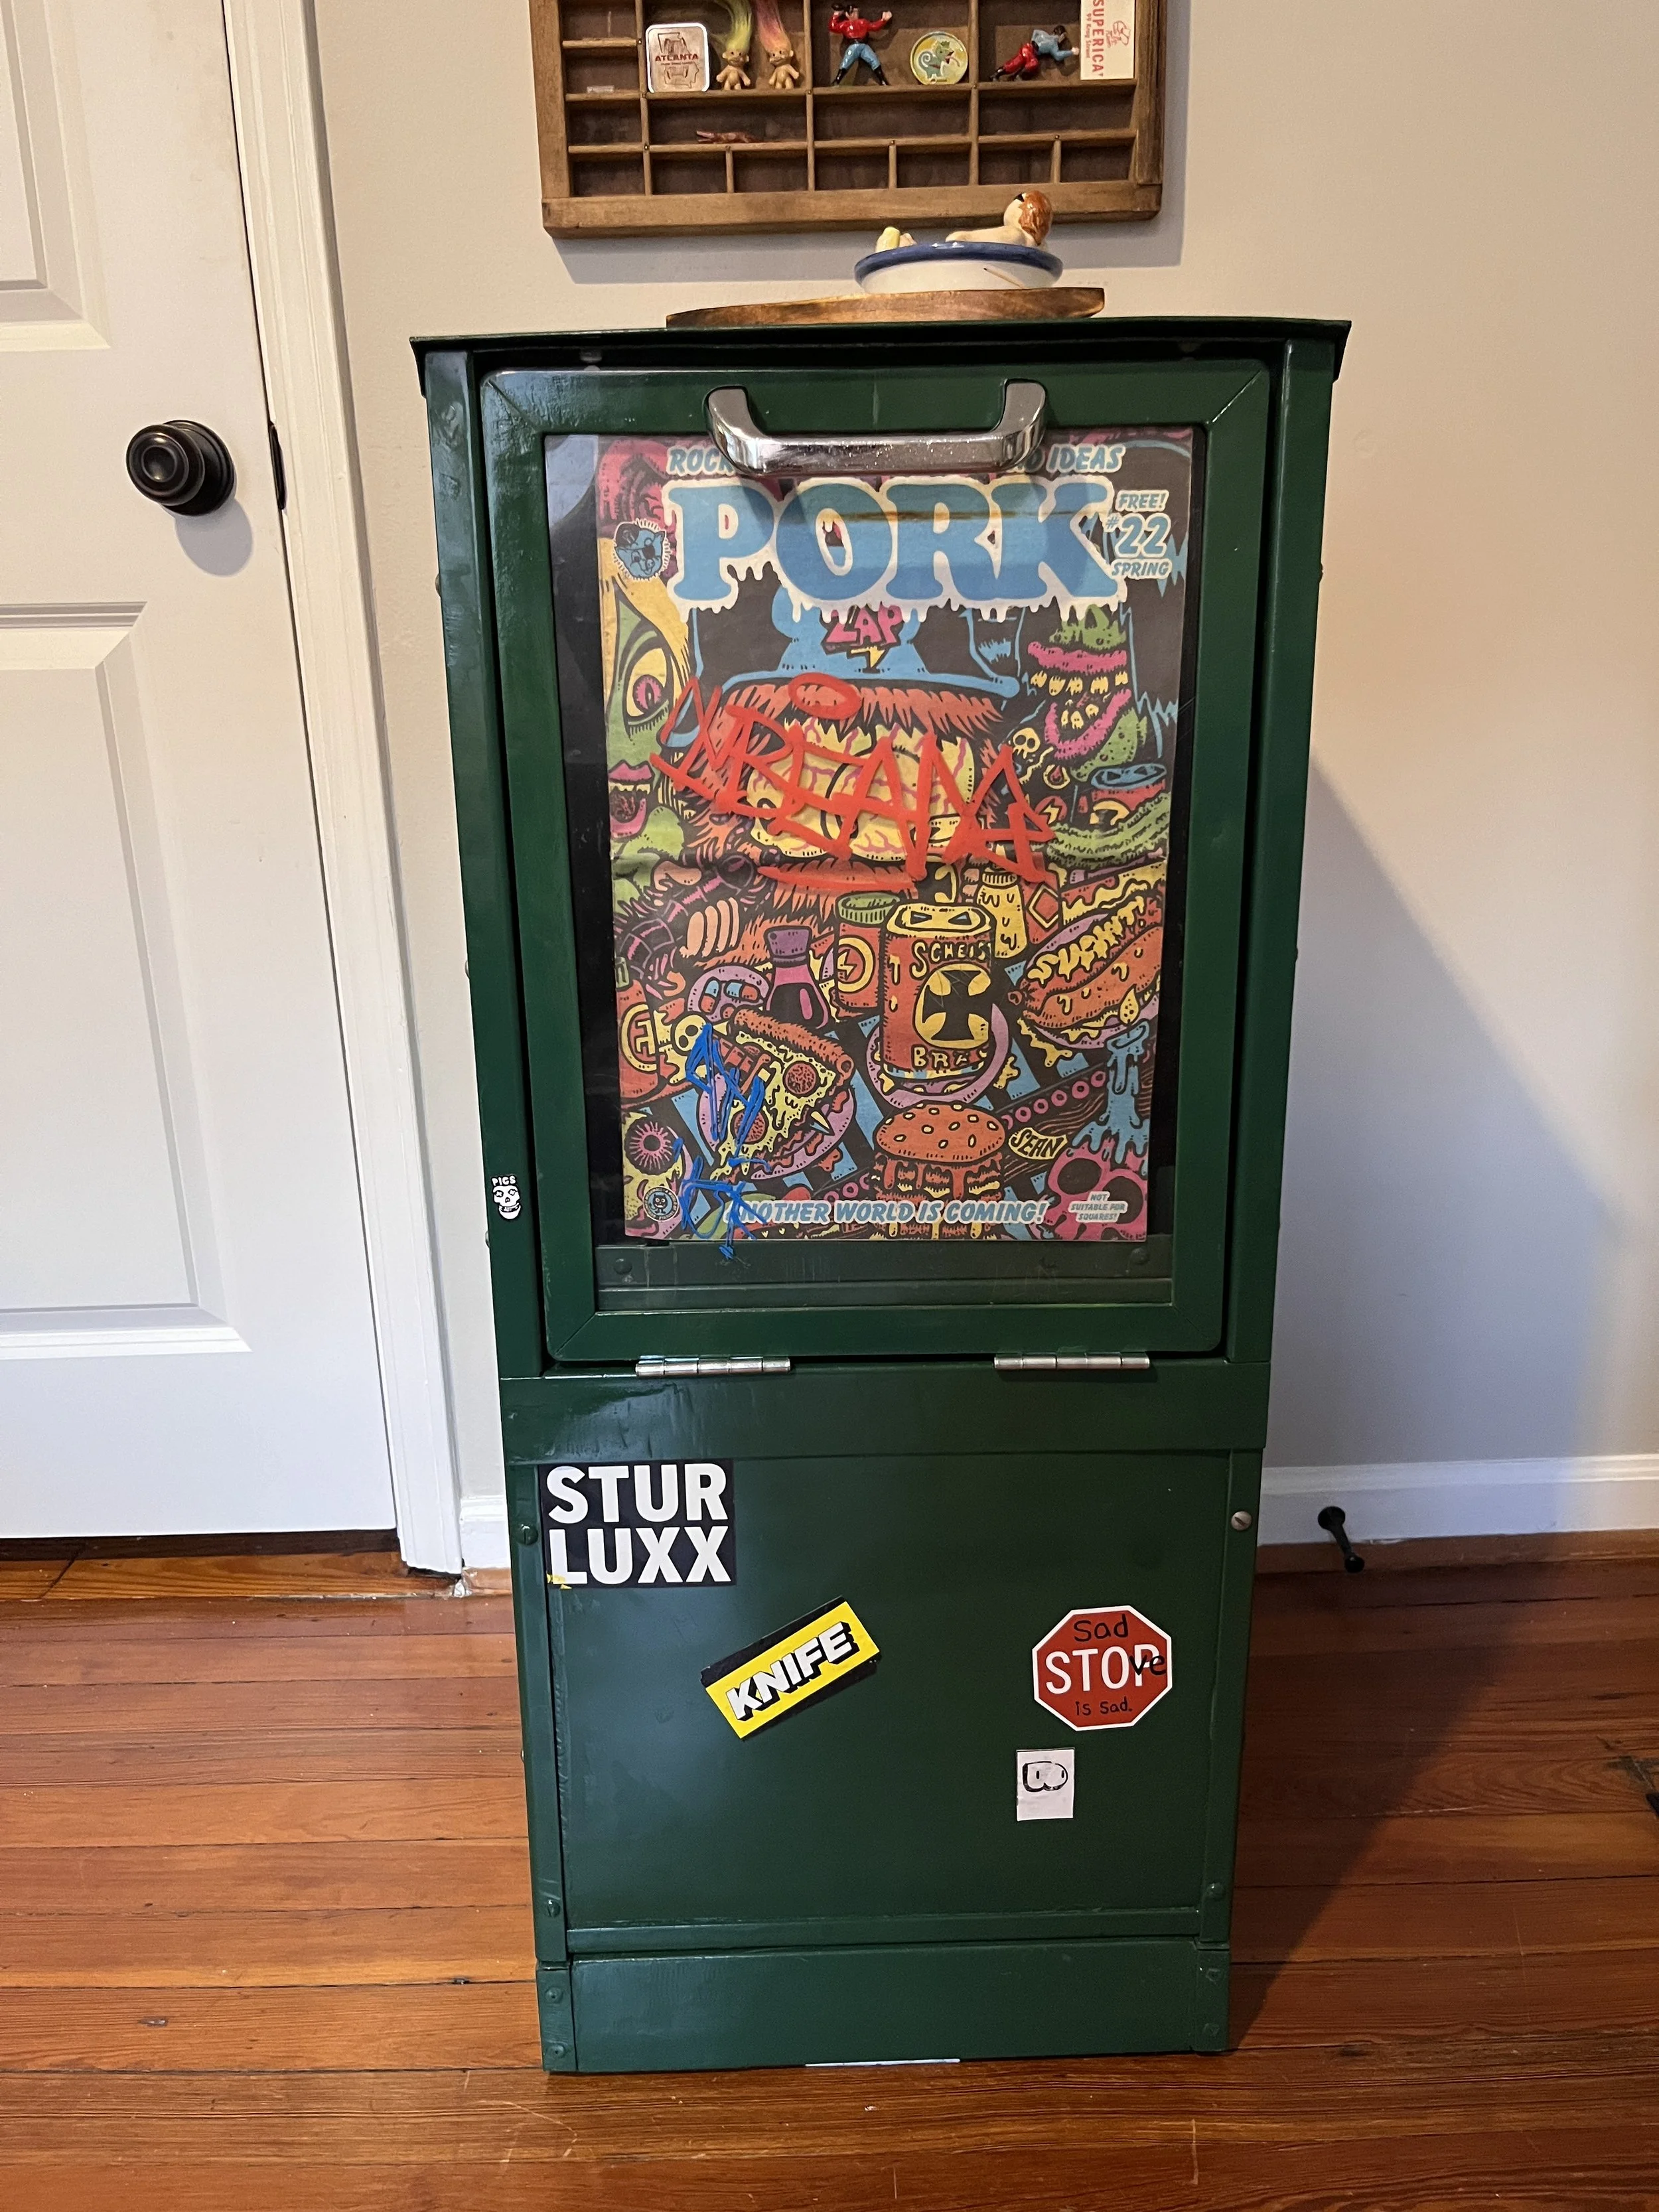
I knew I would be removing the vinyl wrap to address the rust issue, but I knew I also wanted to save these tags to put back on the finished body as magnets. Luckily, most were stickers that I could remove and salvage as usual. I worked around the IBEAM tag (and the ATL HOE tag, just for fun) on the plexi window of the hatch as I cleaned it up. I also decided to paint the bar on the back (that holds the newspaper to the window) a bright yellow for a pop of color!
The KOAST tag on the side of the body was the trickiest. Since vinyl stretches and tears as you use the heat gun to peel it off, I had to engineer a way to keep the area with the tag stable during removal. After testing that it wouldn’t remove the ink, I used a layer of packing tape to achieve this. Since it doesn’t stretch, it was able to keep the vinyl it was stuck to stable, and saved the tag.
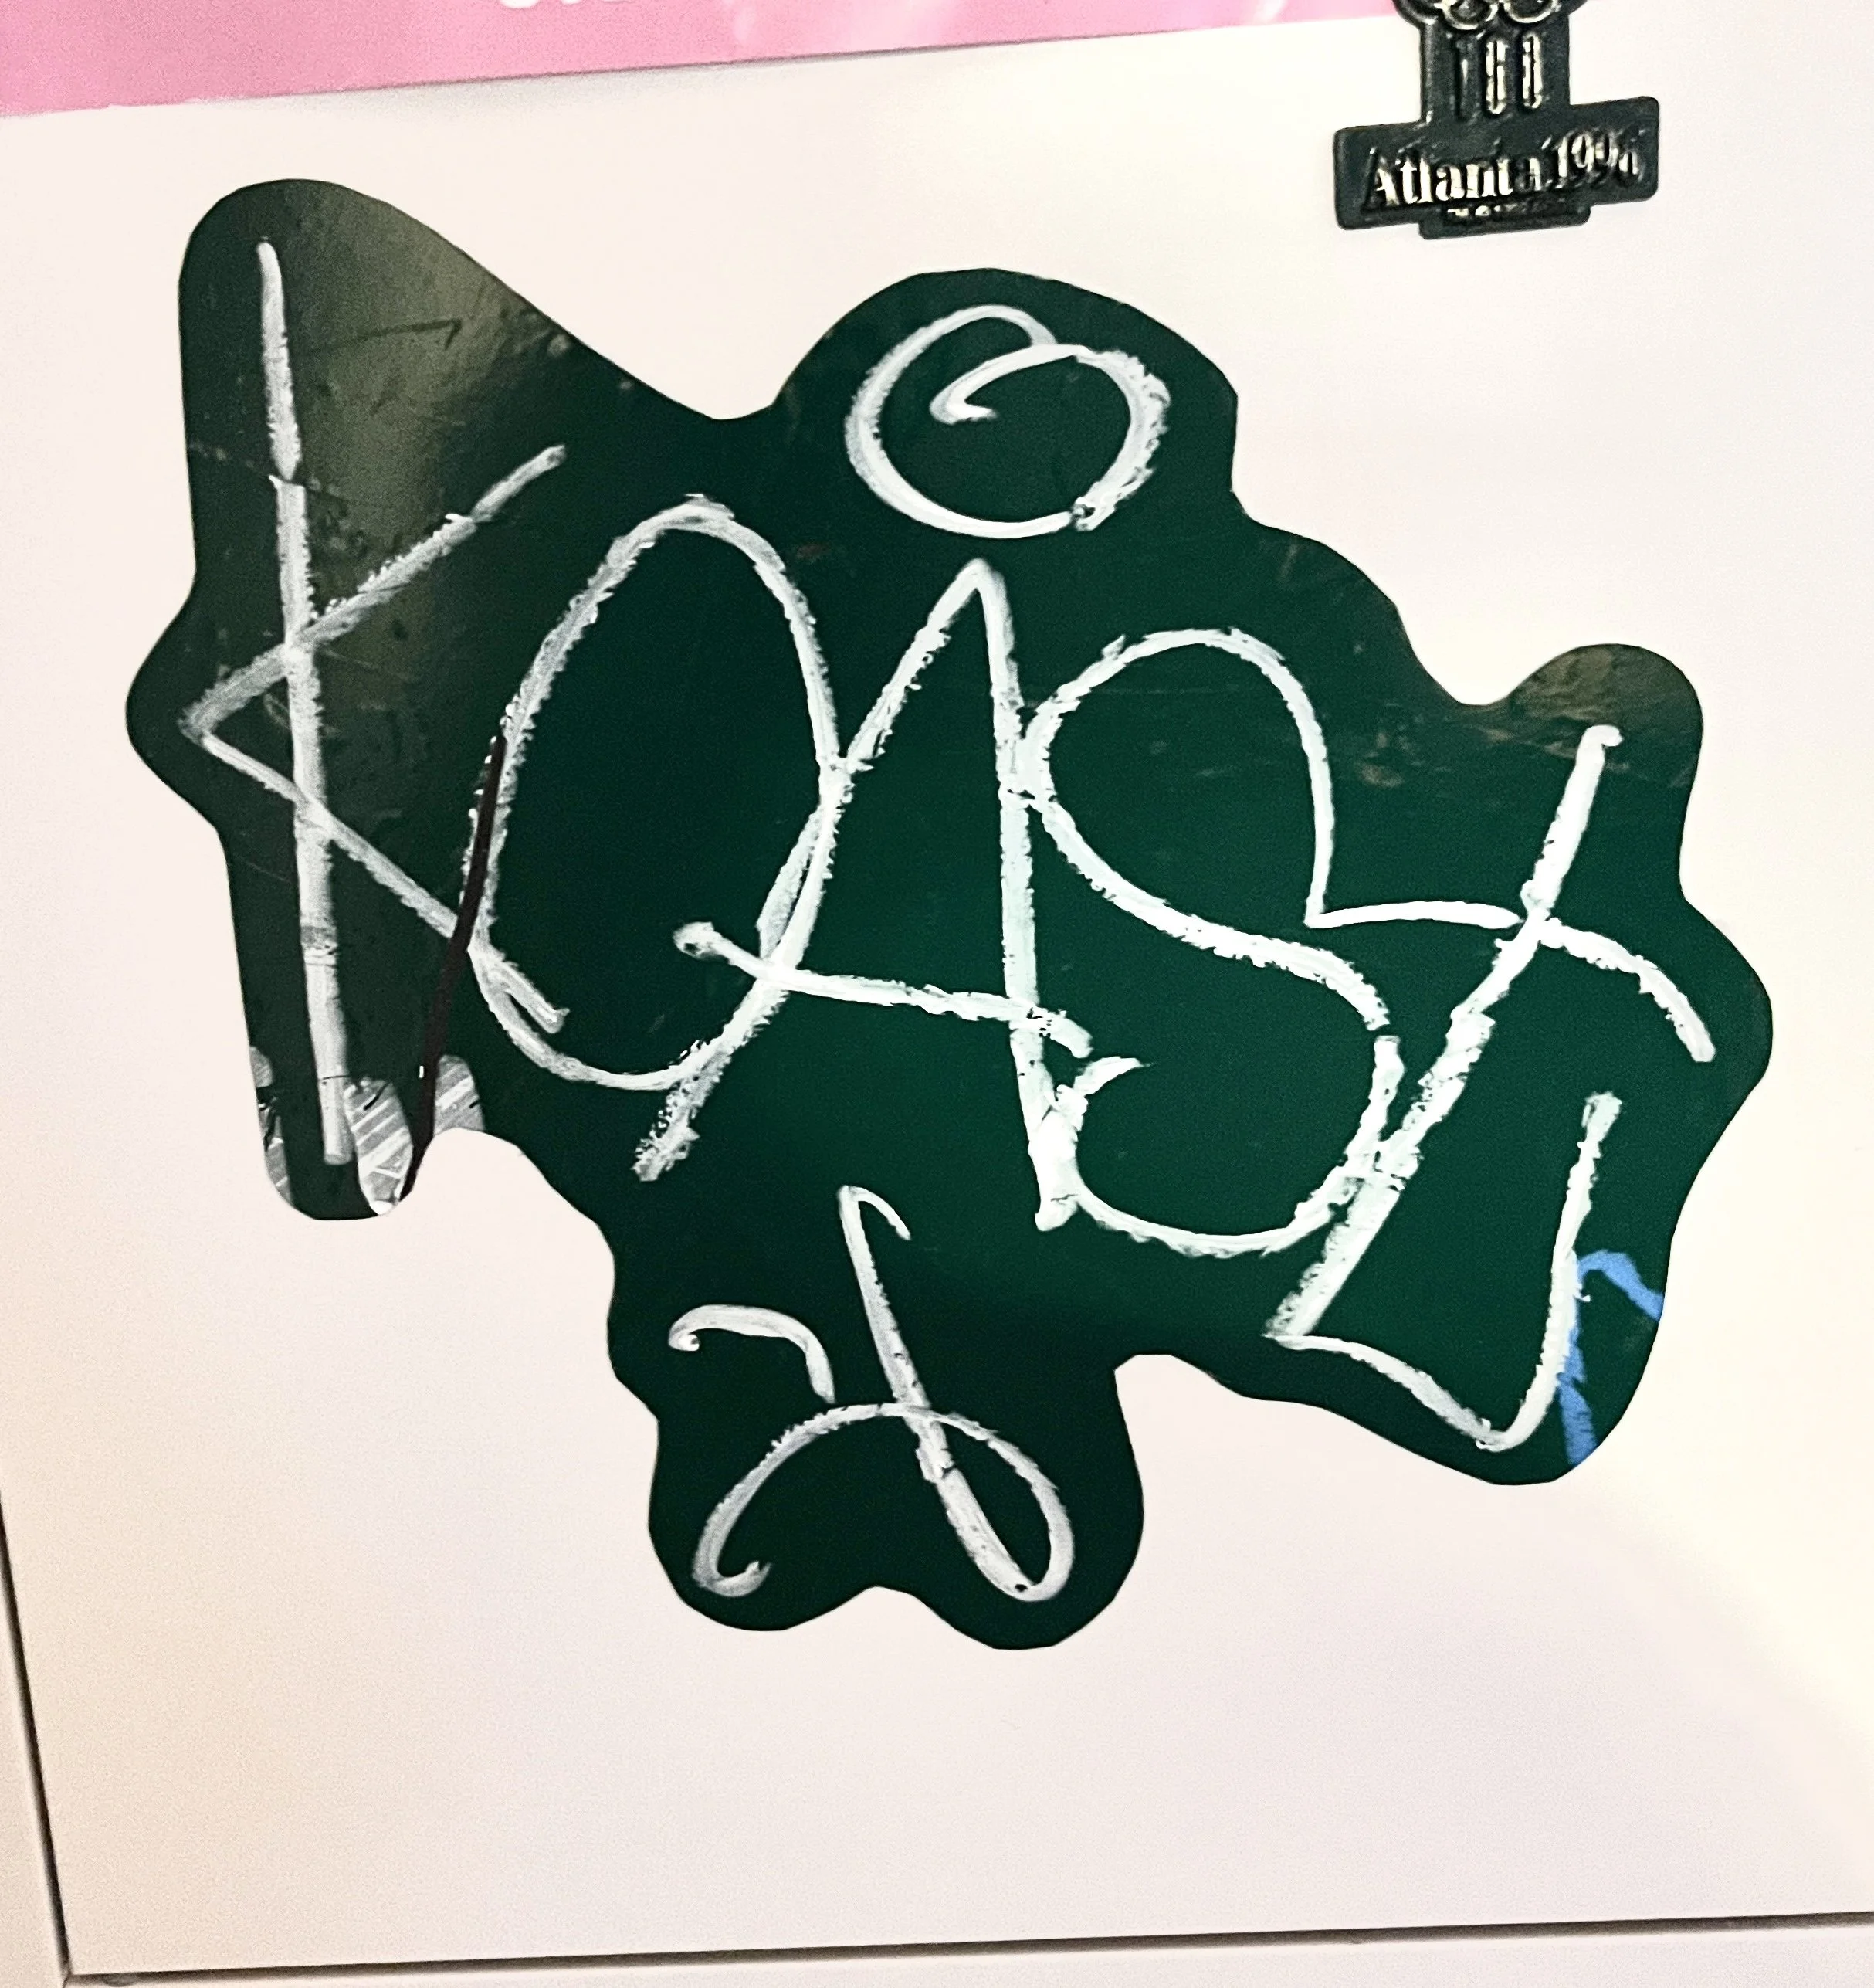
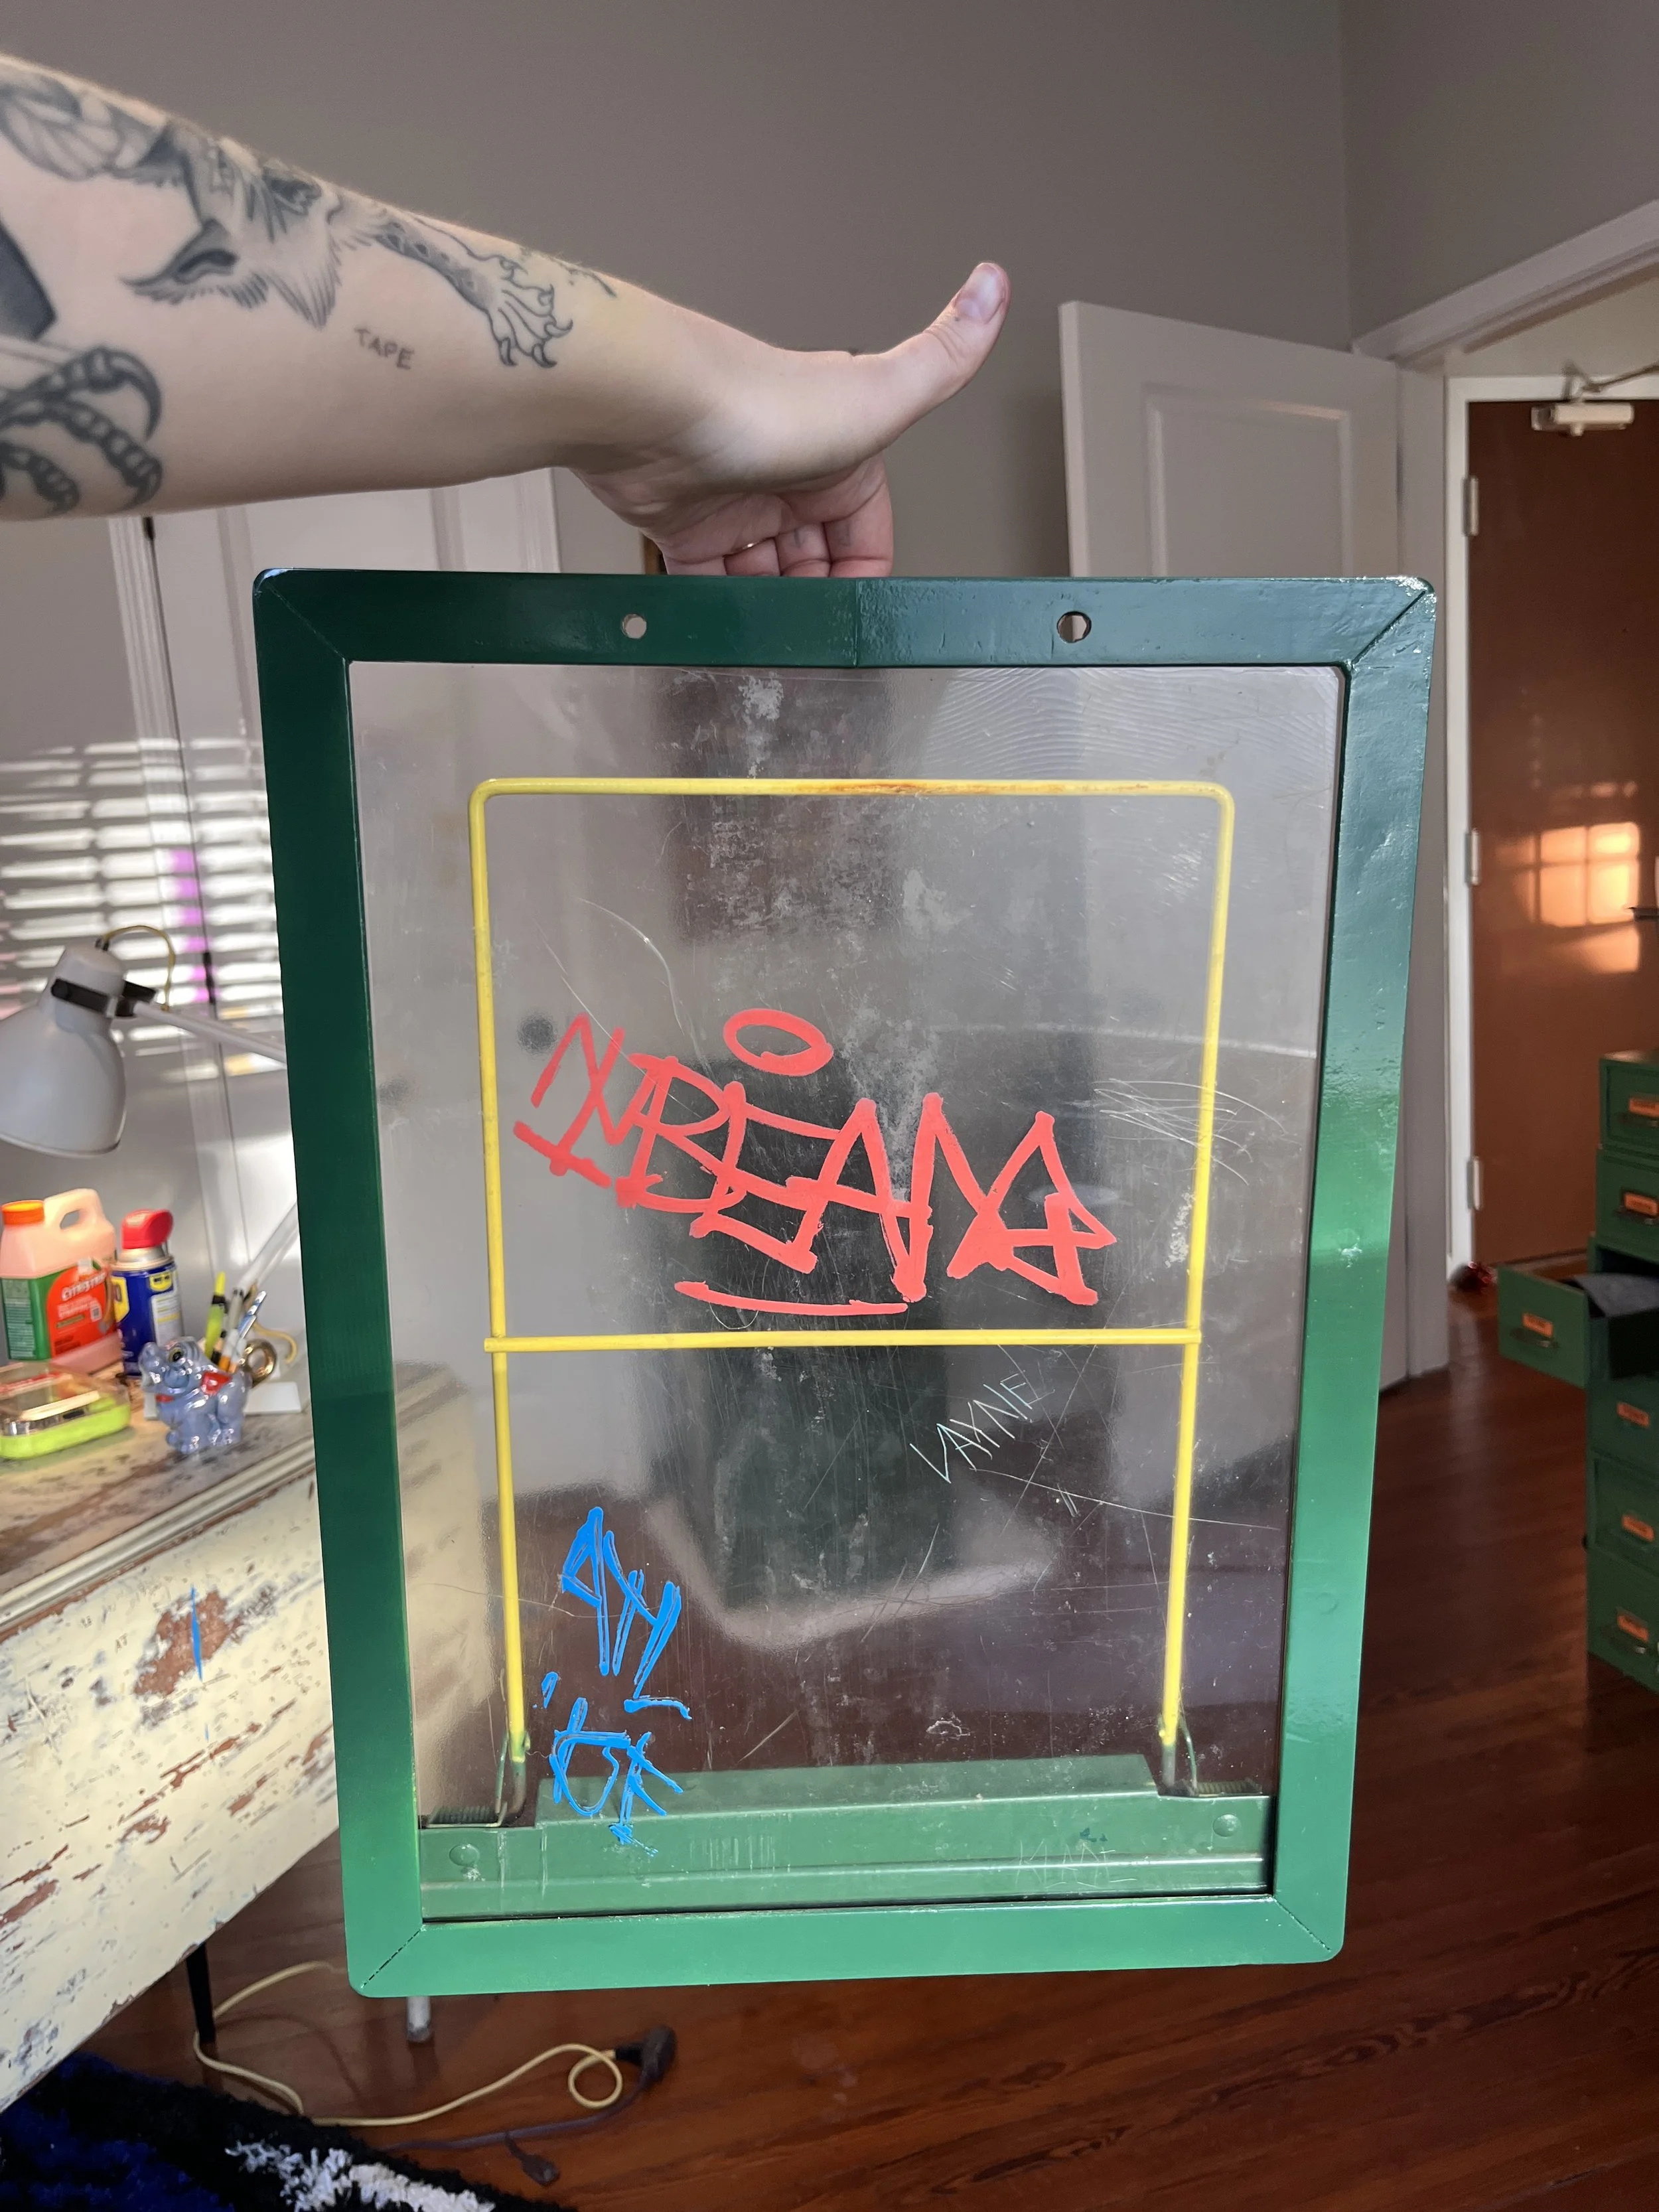
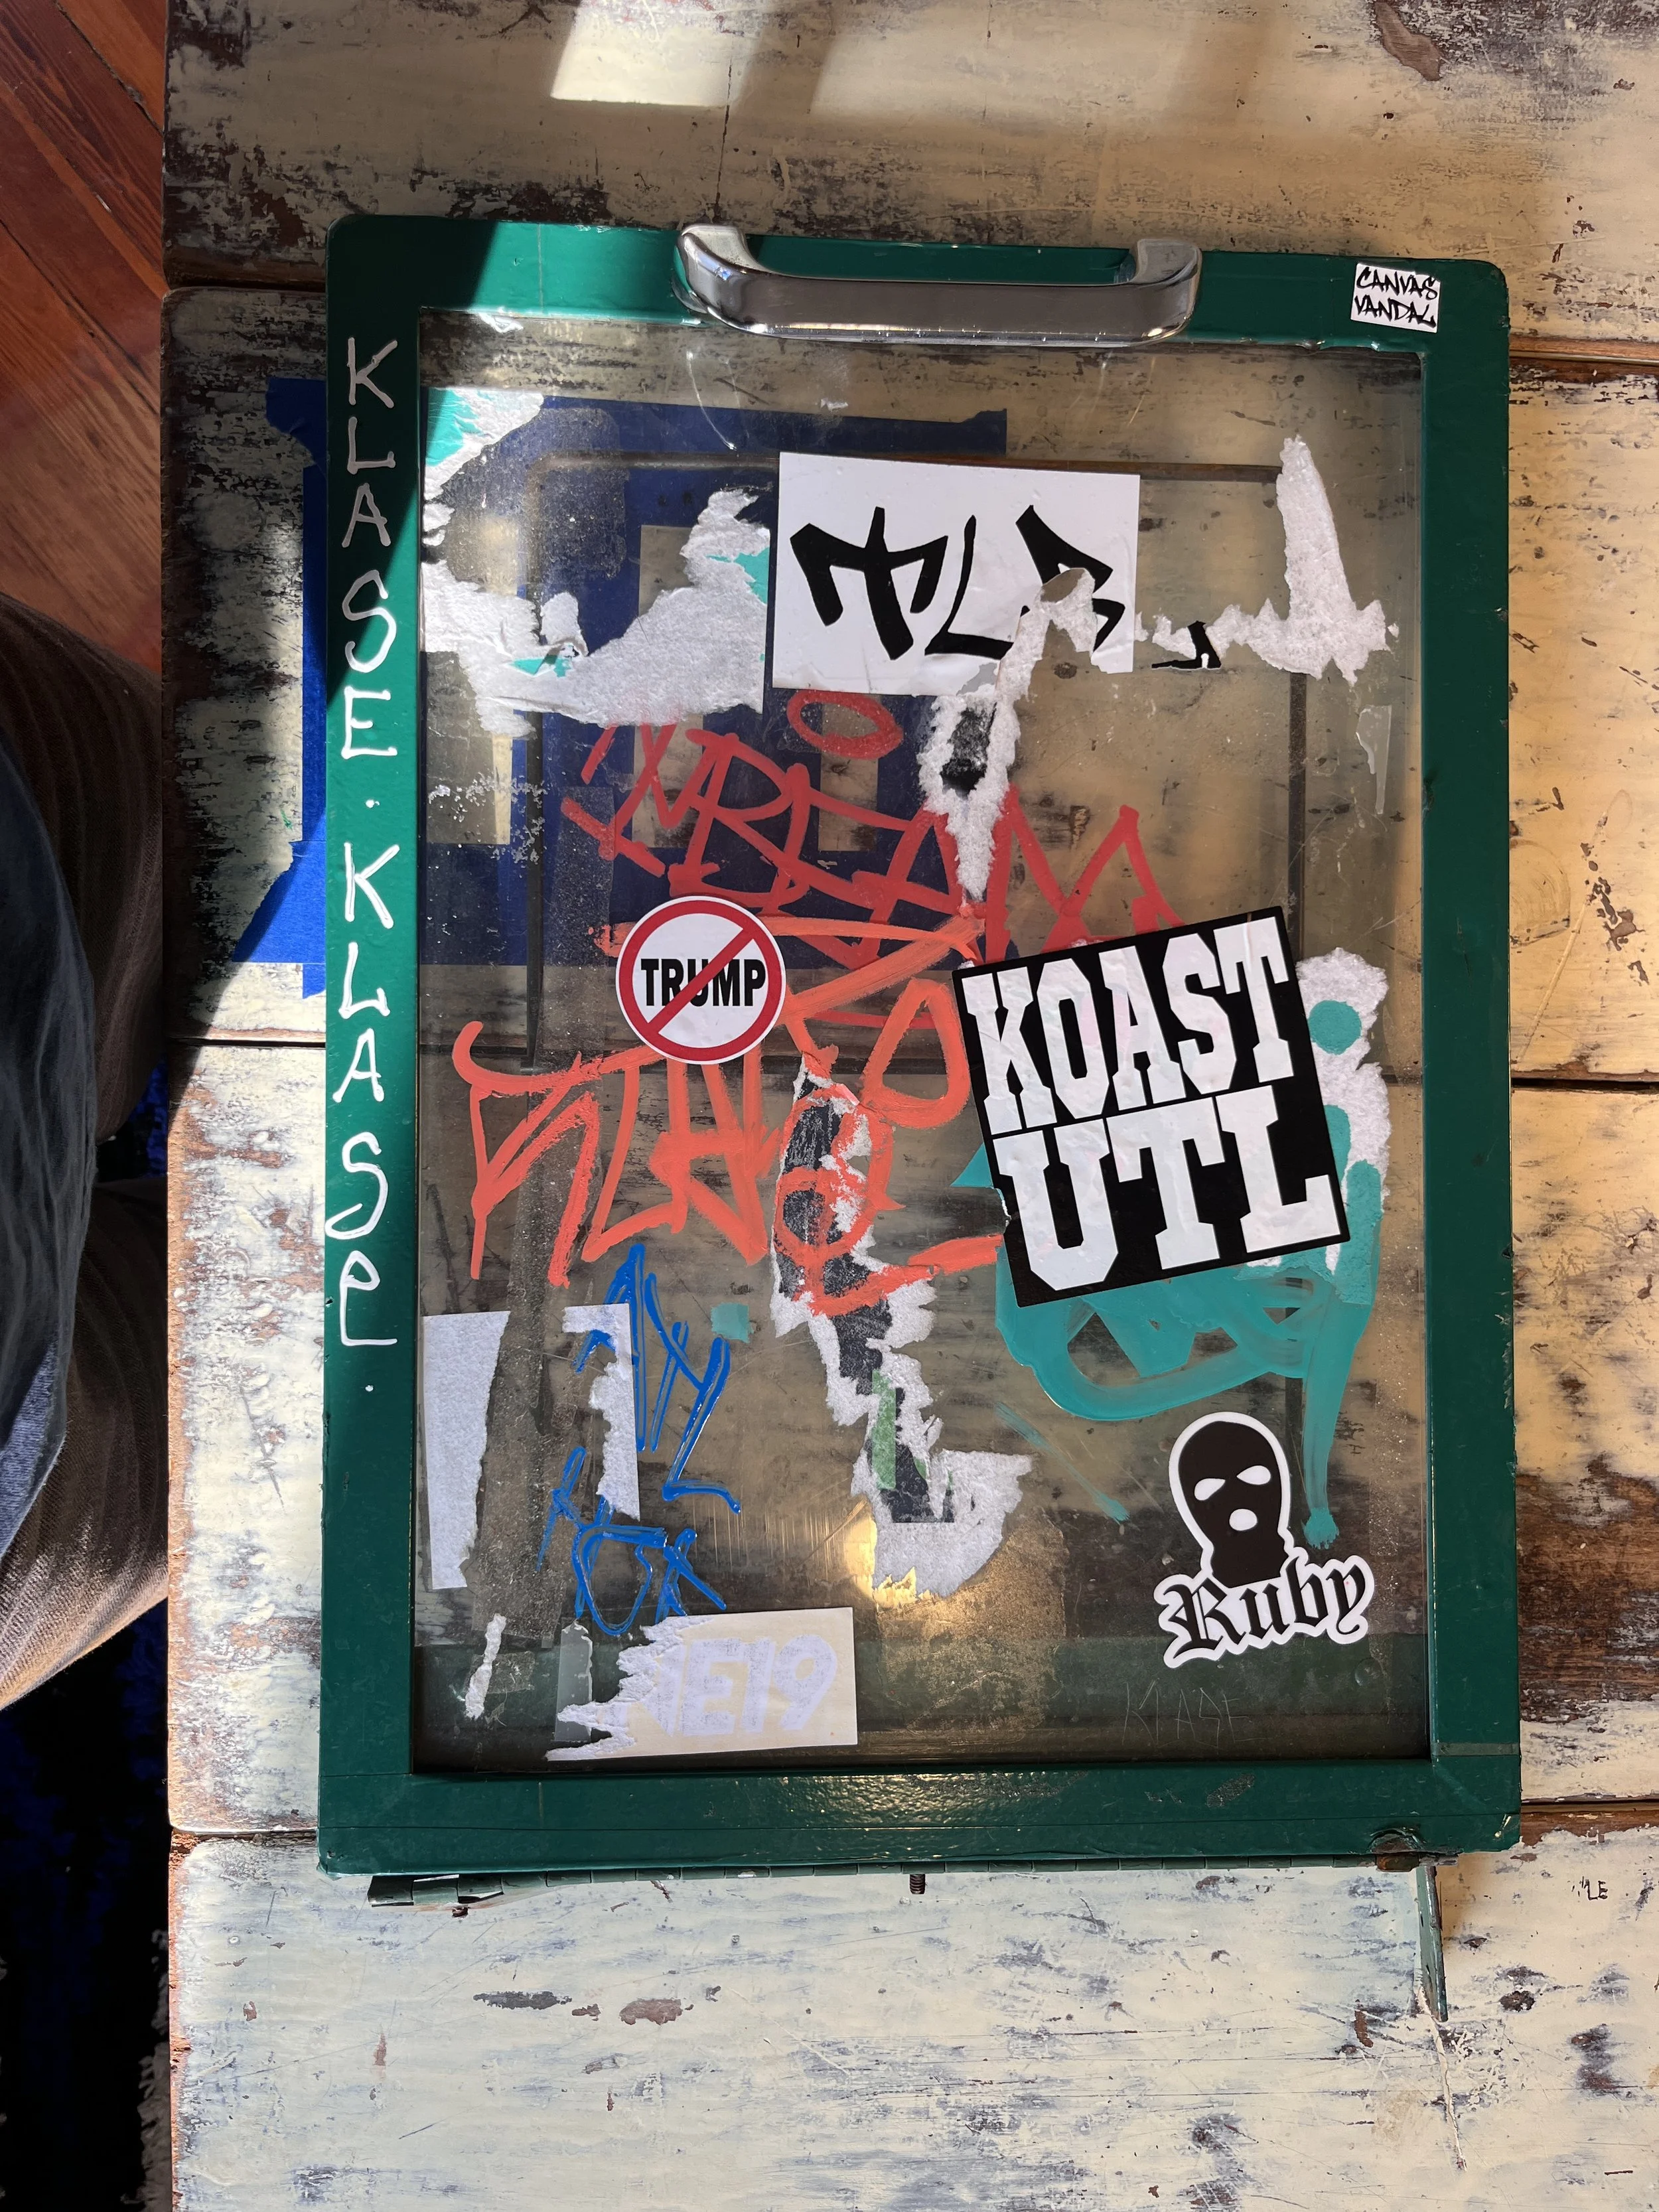
Peeling the rest of the vinyl off was a long and arduous process, leaving behind tons of adhesive residue (that wouldn’t budge with Goo Gone), so instead of simply sanding the base paint and repainting, I wound up having to use my angle grinder to strip it completely. That turned out to be necessary for other reasons though, since I needed to address the holes left behind by rust (and other dents) with JB Weld before the final sand and paint.
I added new silver hinges and magnetic closures to the hatch to fix the closing issue. I stripped the paint and rust off the screws and cleaned them up nicely, using them to reassemble the body after finally finishing the paint. I love seeing the clean metal accents against the paint. The paint did not come out totally smooth (it could have used more sanding beforehand), and I may print a new Creative Loafing decal for the front some time in the future, but it is clean, rust-free, and I think it turned out amazing looking!
Overall, this was a super fun project. The continual addition of new obstacles kept adding days and weeks onto the timeline, but I don’t mind that. It gives me the opportunity to practice creative problem-solving and field engineering skills, where I can easily find flow state. This box gave me lots of enjoyable evenings after work and Saturday mornings sanding and grinding outside in the beautiful sun!
Thanks for reading!